

Staking—the process by which holders of proof-of-stake digital tokens lock up the value of a portion of their tokens to contribute to the management of the blockchain and are rewarded with staking rewards—is an increasingly popular way to put your crypto to work.
Avalanche is a fast, flexible, secure platform for developing blockchains and decentralized apps (dapps). It offers powerful scalability, throughput, and transaction processing, all made possible by the platform’s novel consensus mechanism and Subnet architecture.
The go-to staking solution on the Avalanche platform is Core, a crypto wallet and portfolio dashboard for use on Avalanche and other major chains like Bitcoin and Ethereum. Staking with Core simplifies the process for token holders/users , removes intermediaries, and allows users to customize the process based on their own needs.
Before we get started with our in-depth guide to staking on Avalanche using Core, it’s helpful to understand the chains or Subnets on the Avalanche network.
Avalanche’s three primary chains are the P-Chain, X-Chain, and C-Chain. The P-Chain manages validators and custom Subnets (custom blockchains built on Avalanche). The X-Chain is the default asset blockchain which allows for the creation and exchange of assets. And the C-Chain is an Ethereum Virtual Machine-compatible chain which facilitates the creation of smart contracts and dapps.
Below, we walk you through the simple steps you can take to easily stake AVAX using Core.
Step 1: Setting Up
Before staking with Core, users must first install the Core extension on their Google Chrome web browser. For added security, users can also connect their Ledger hardware wallet. Begin by downloading the free extension here then heading to core.app/stake. Users should also ensure that they hold the minimum necessary quantity of AVAX to participate in the staking process. As of now, a user must hold at least 25 AVAX to delegate and 2,000 AVAX to validate.
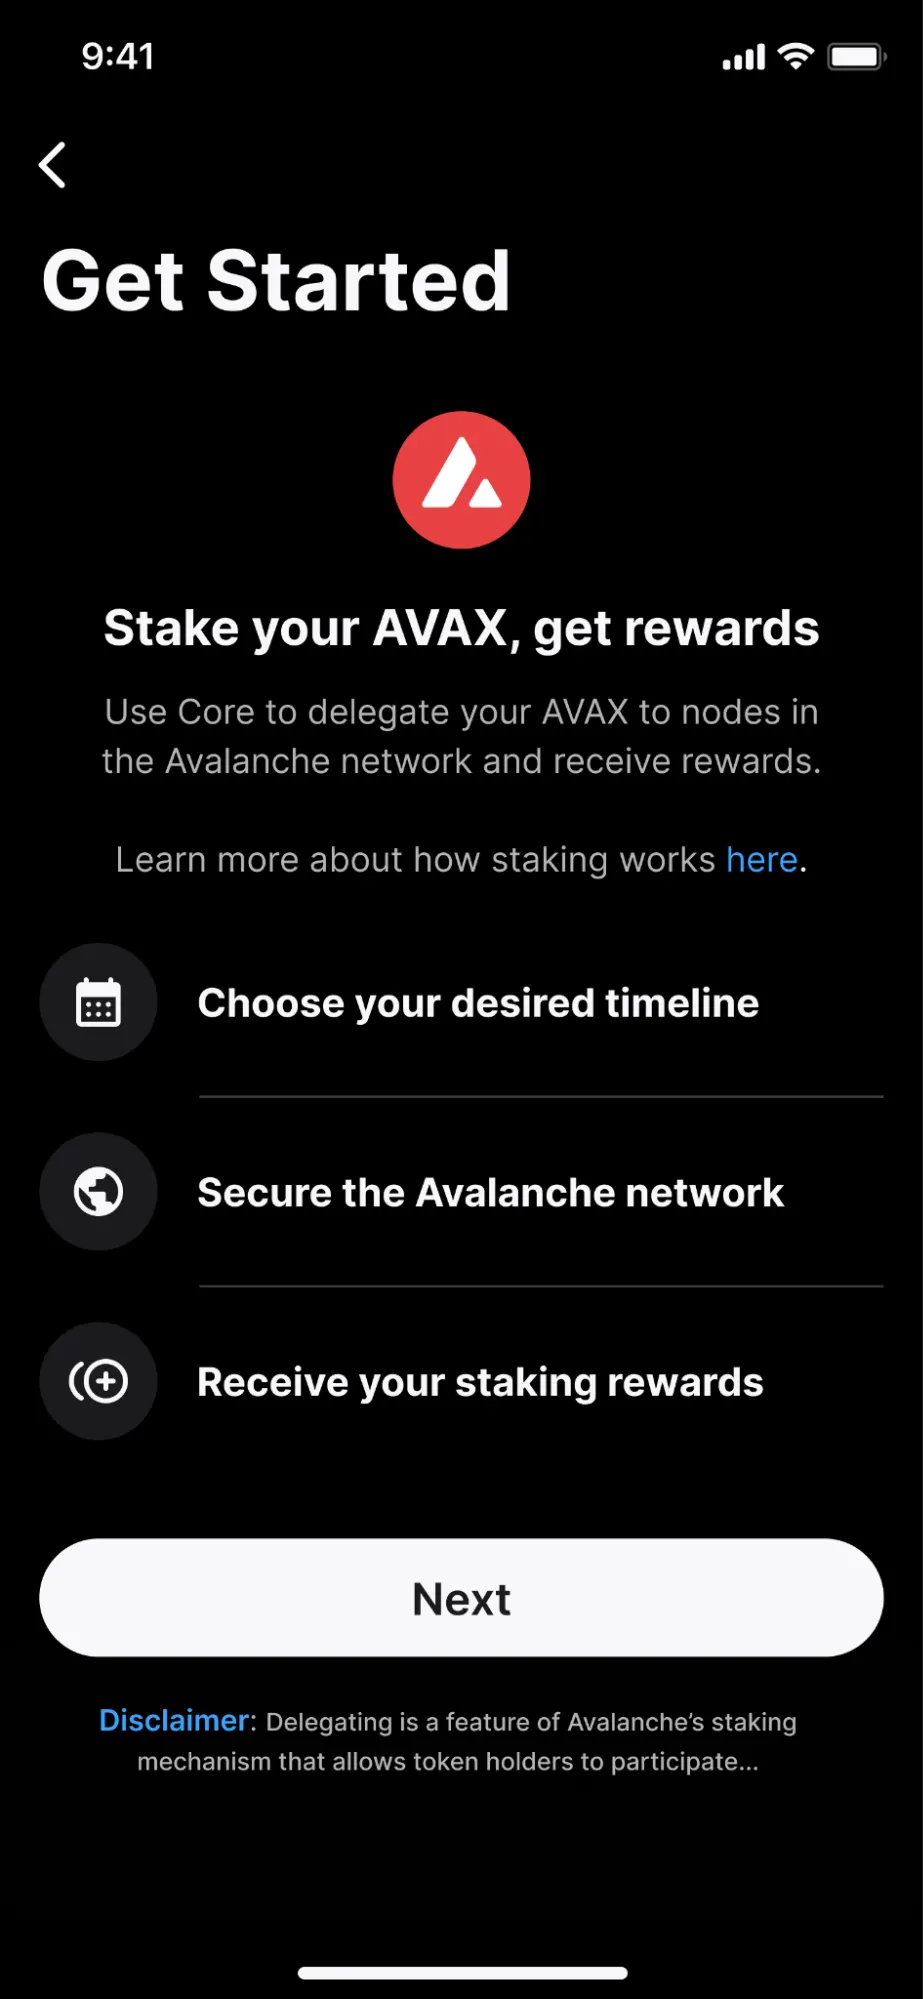
Users looking for a simple way to delegate on-the-go can download Core’s mobile app available on iOS and Android.
Step 2: Delegating
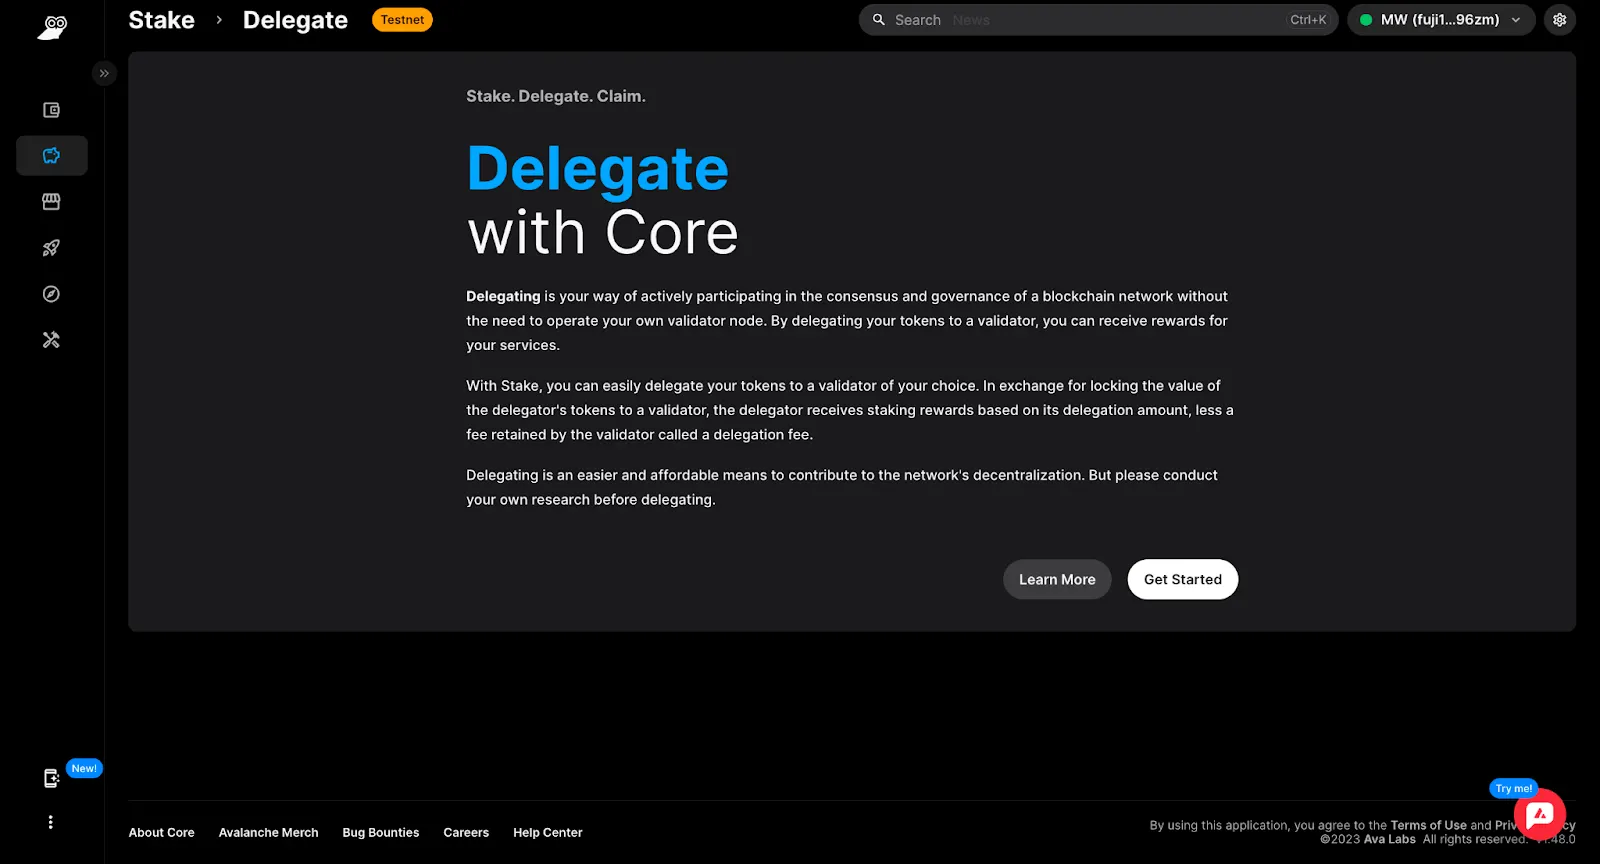
The process of delegating using Core is straightforward and quick. With the Core extension connected to Core web, navigate to Stake and then to the Delegate panel. At this point, you will see a prompt to “Learn More,” which links to helpful additional information provided by the Avalanche team. When ready, click on “Get Started” to proceed with delegating.
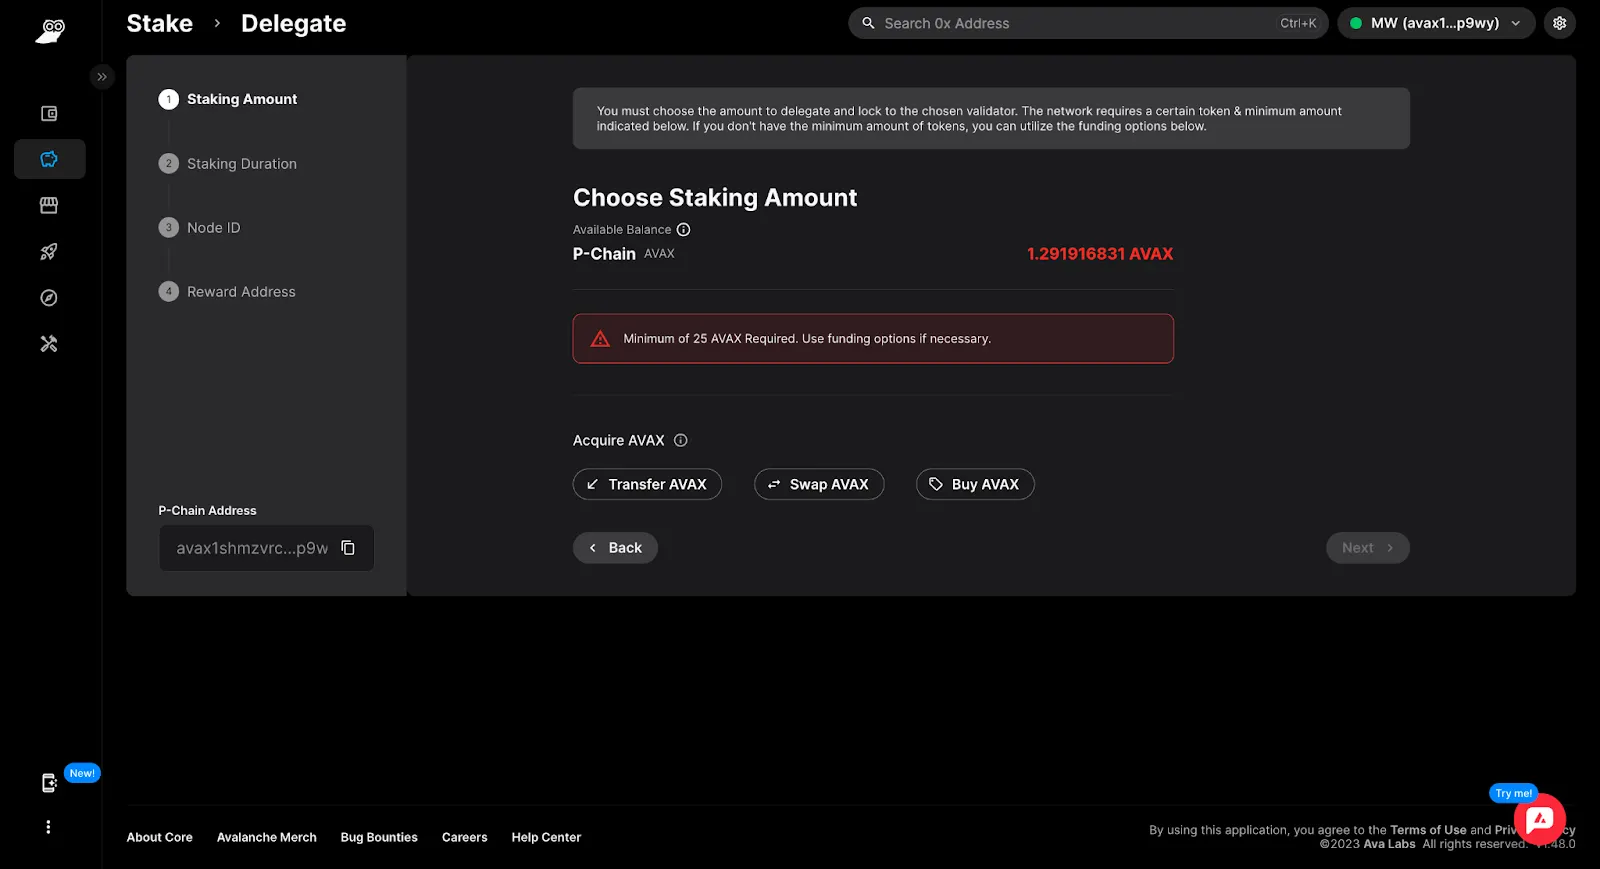
This is where the Subnets listed above come into play. In order for a user to delegate, AVAX must be present on the P-Chain (however, if the user does not have AVAX on this chain, options will be available to transfer from other chains or purchase them). Based on the total AVAX available, users may then select the quantity of AVAX to delegate and click “Next.”
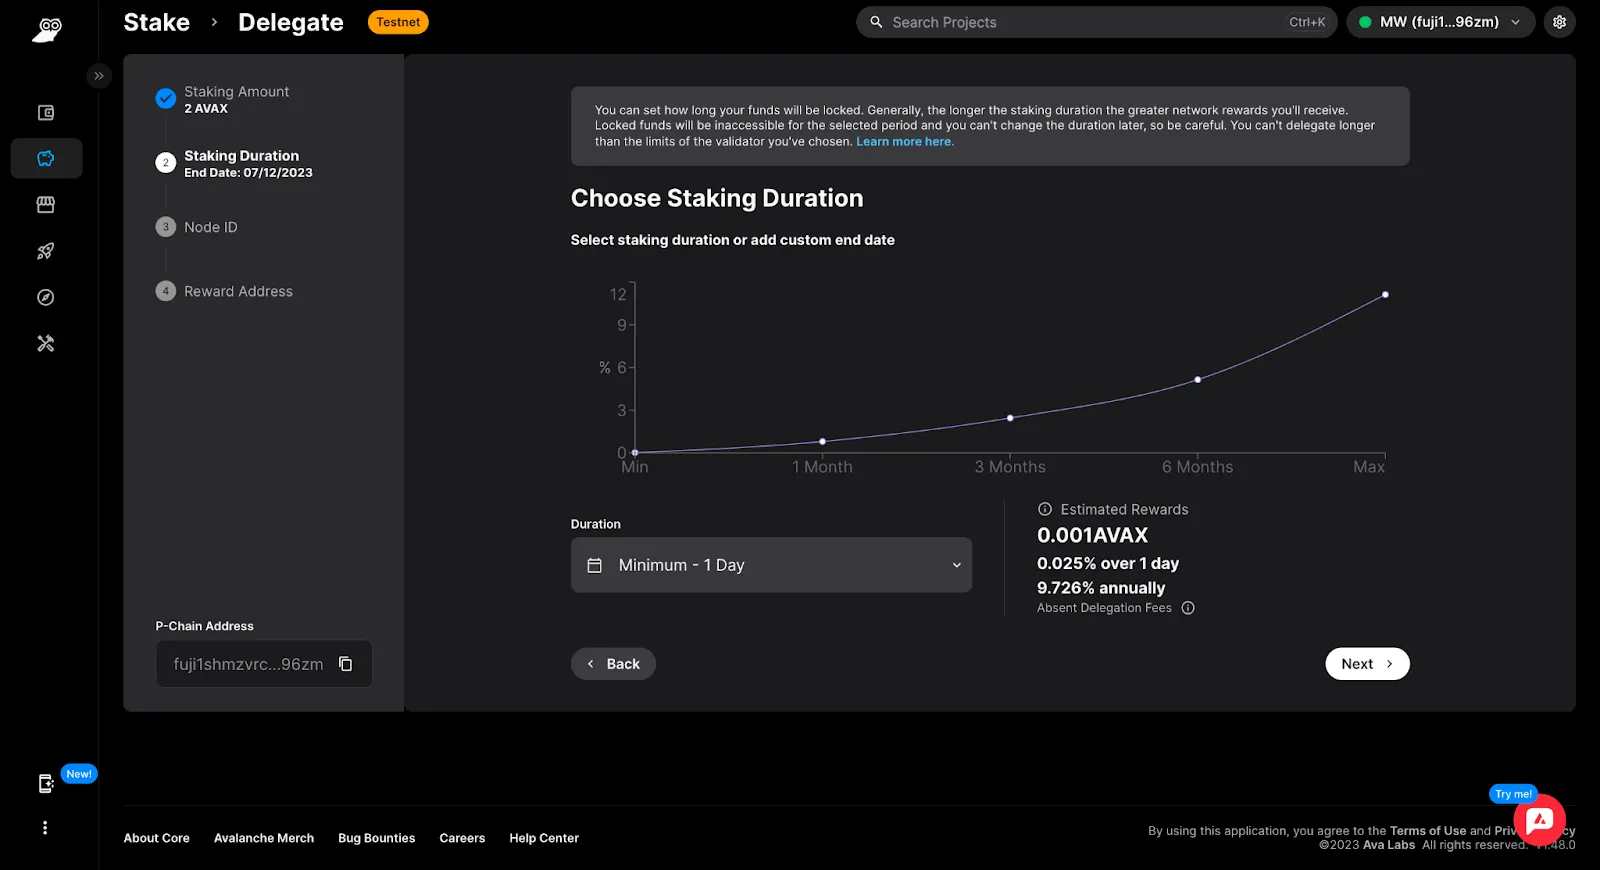
Core then provides AVAX holders with the option to select a staking duration. The system includes a graph to represent the estimated staking reward for each duration, for informational purposes only. Pre-defined durations range from one day to one year, and users can also specify their own end date.
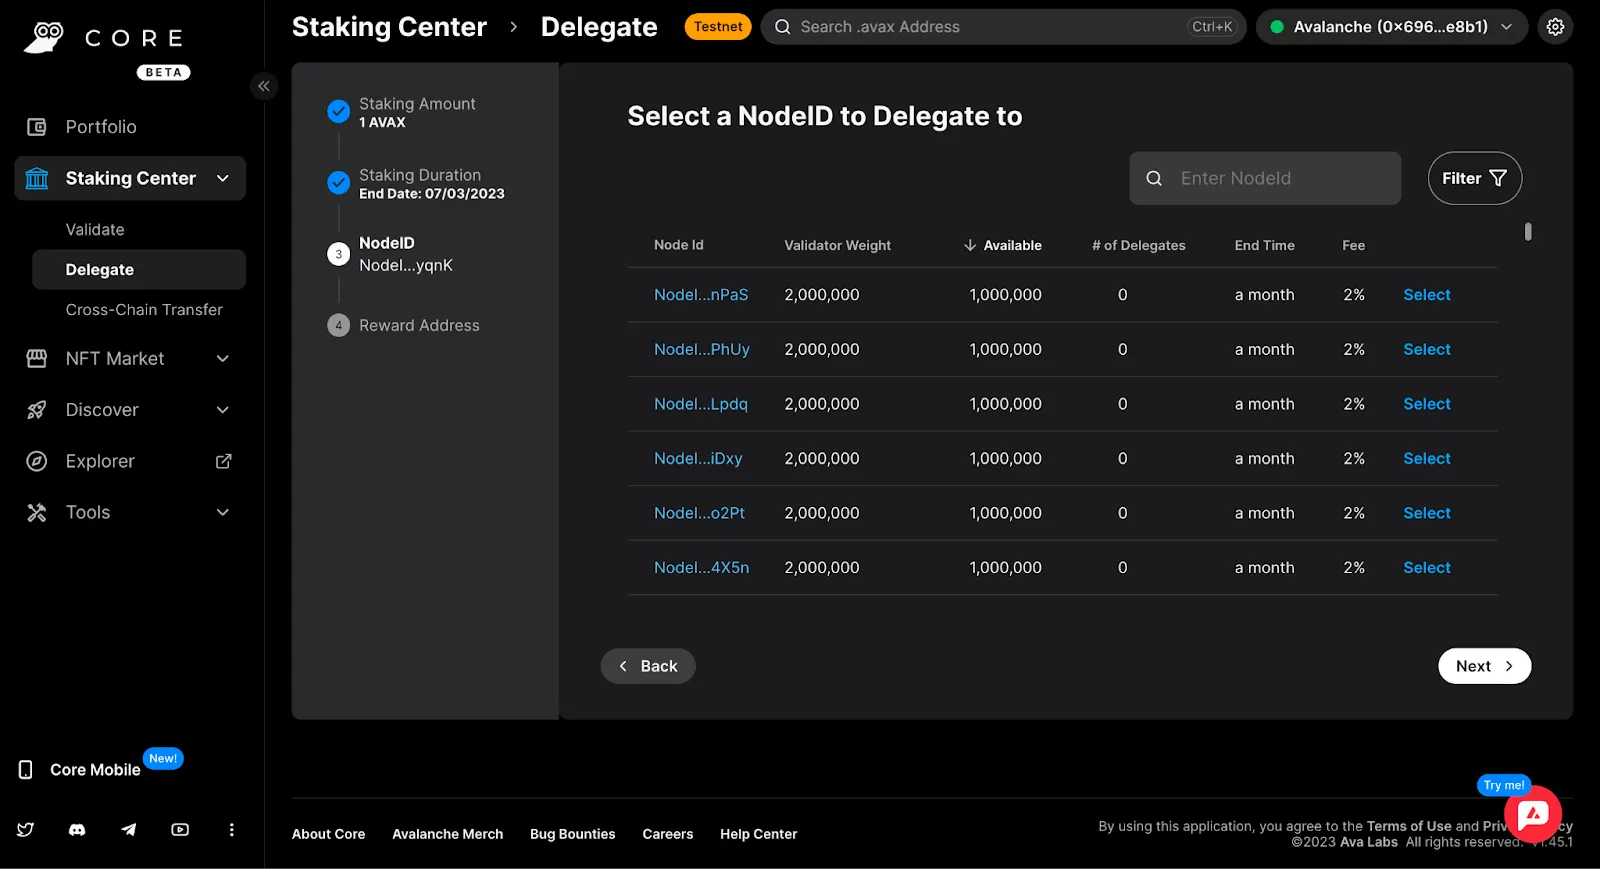
Next, users may select the node to which they want to delegate their AVAX. Note that validators charge fees to those delegating AVAX, and these fees, represented as percentages, are listed in the menu of possible nodes. Delegators may look for specific nodes or conduct a search across multiple parameters. When you’ve chosen a node, click “Select” and then “Next.”
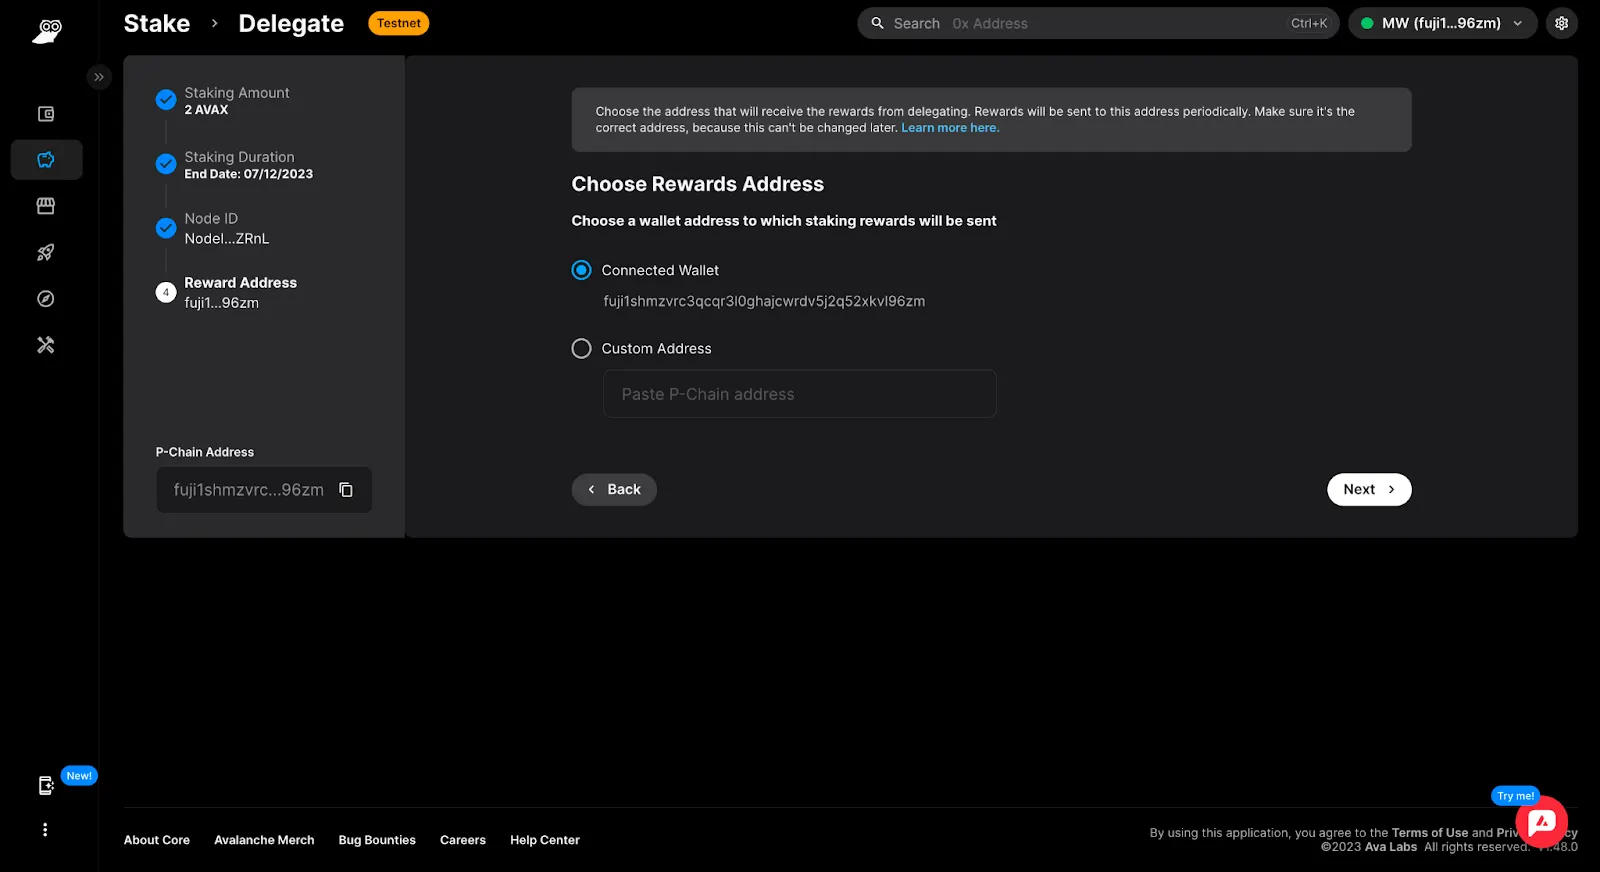
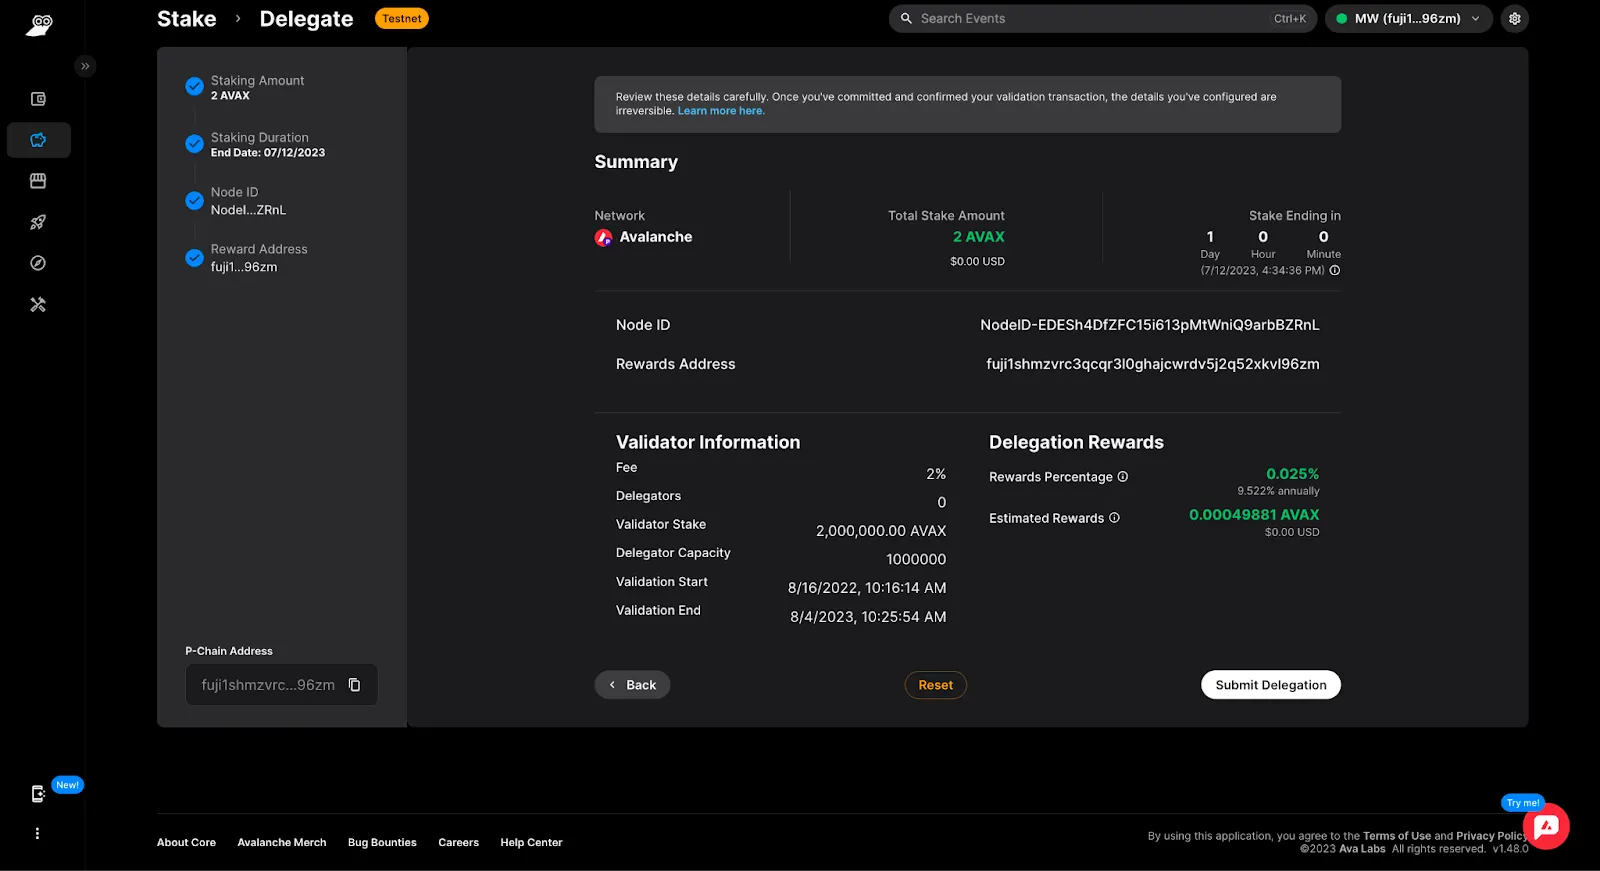
Finally, input a wallet address for any staking rewards to be delivered to, view a summary of the delegating process and your selections, and click “Submit Delegation” to complete the process.
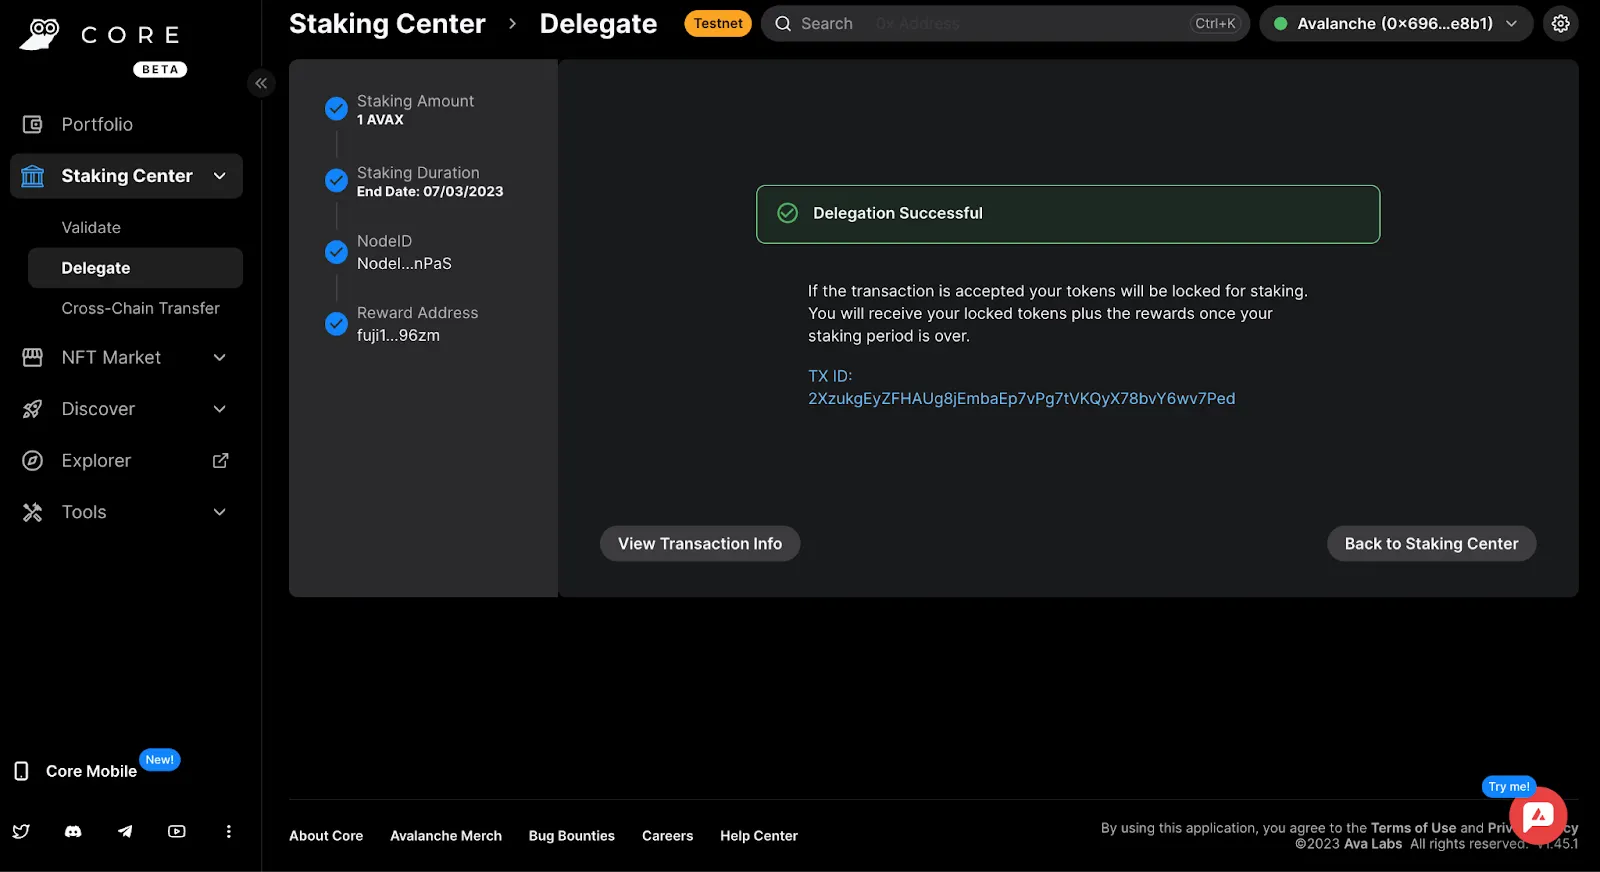
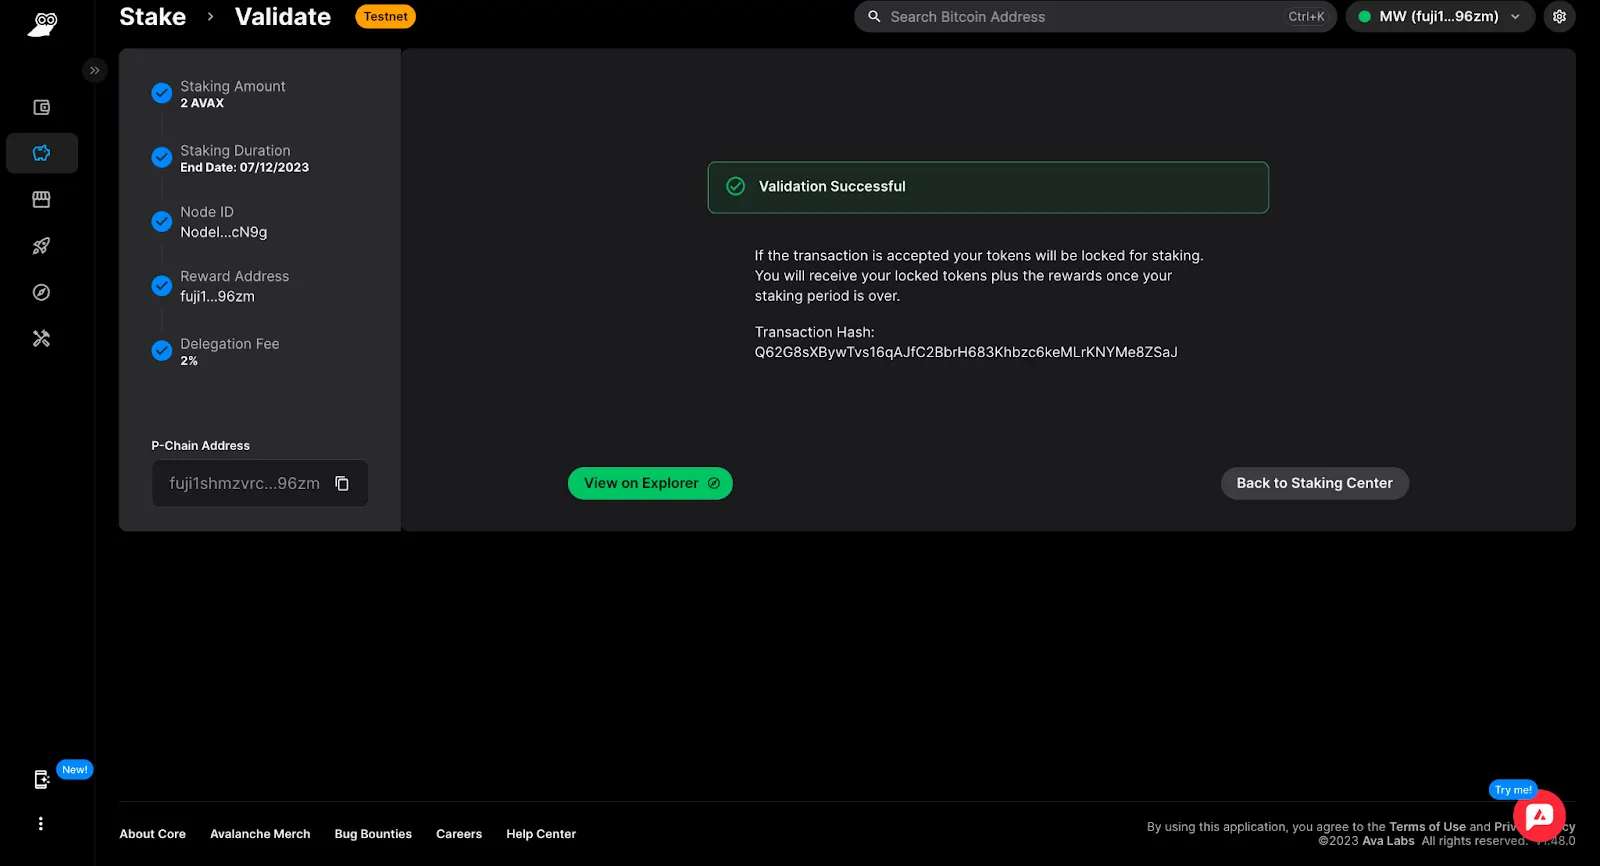
After completing, users will be prompted to approve the transaction on Core extension and can then view information about the transaction on Subnet Explorer.
Staking AVAX on-the-go
Follow these steps to get started staking AVAX on-the-go:
- Download Core mobile for iOS/Android.
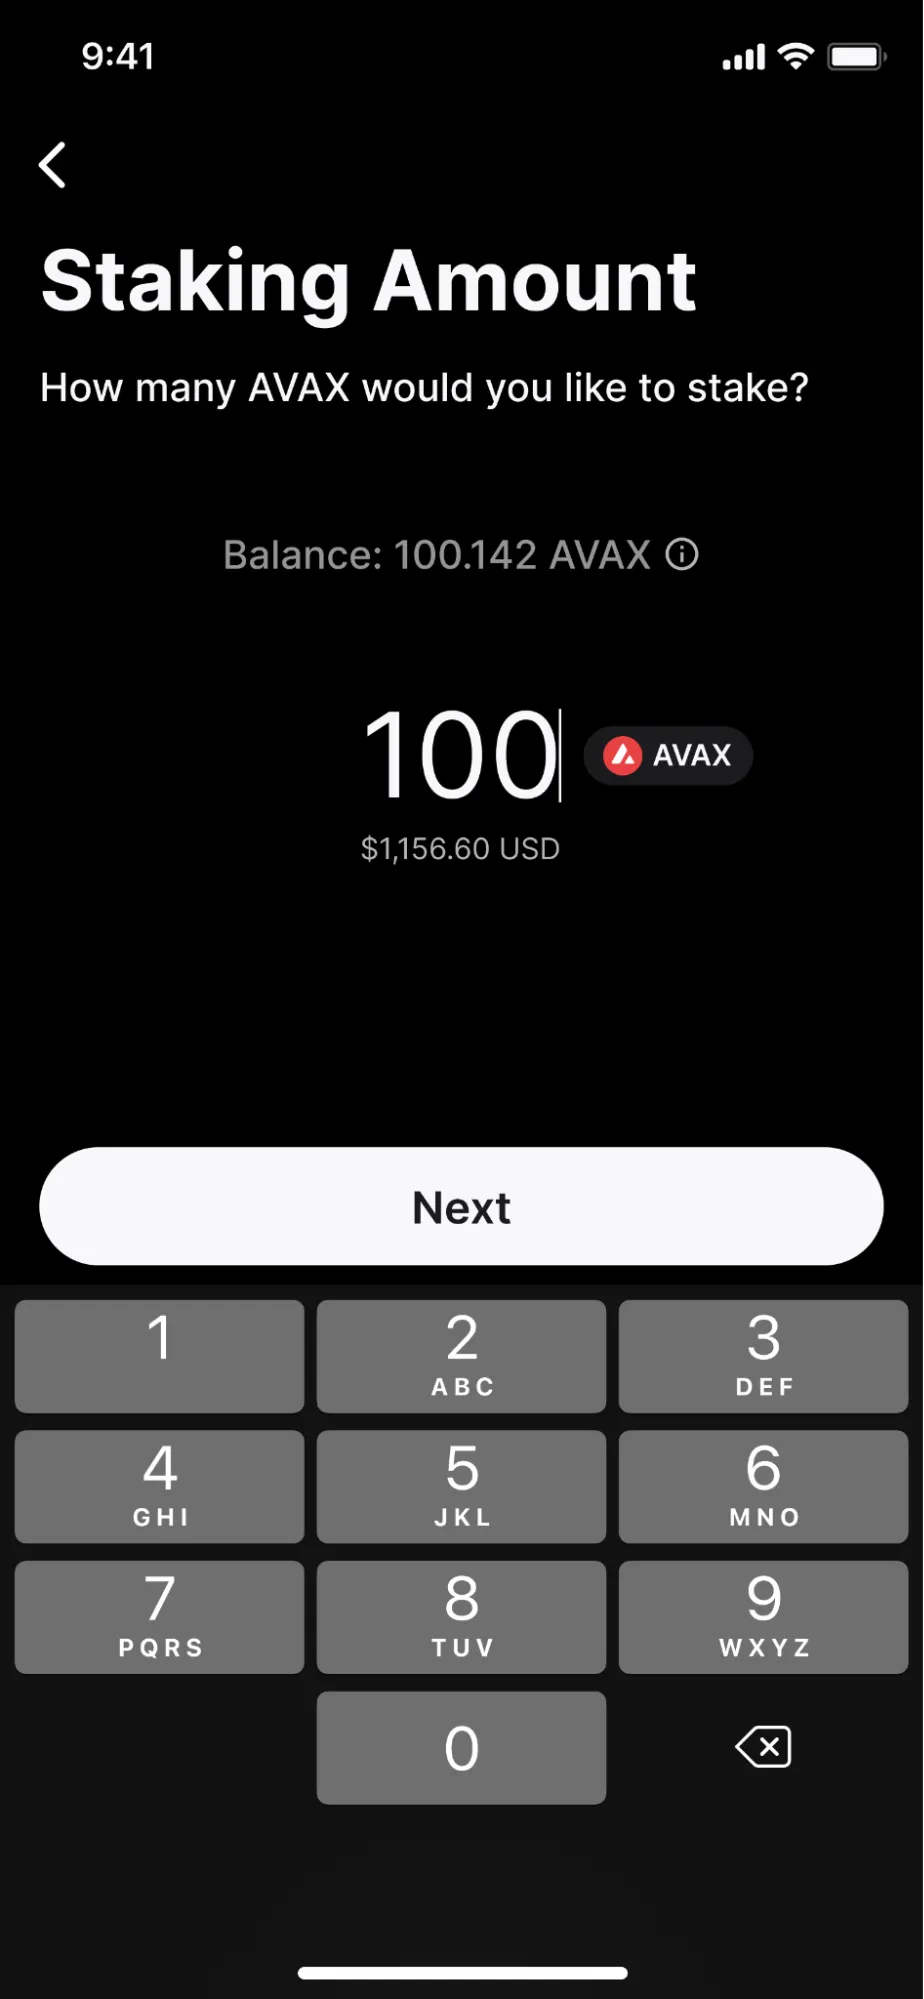
- Once connected, navigate to “Stake.”
- Followed by inputting a valid amount to delegate, select “Next.”
- Next, set a staking duration.

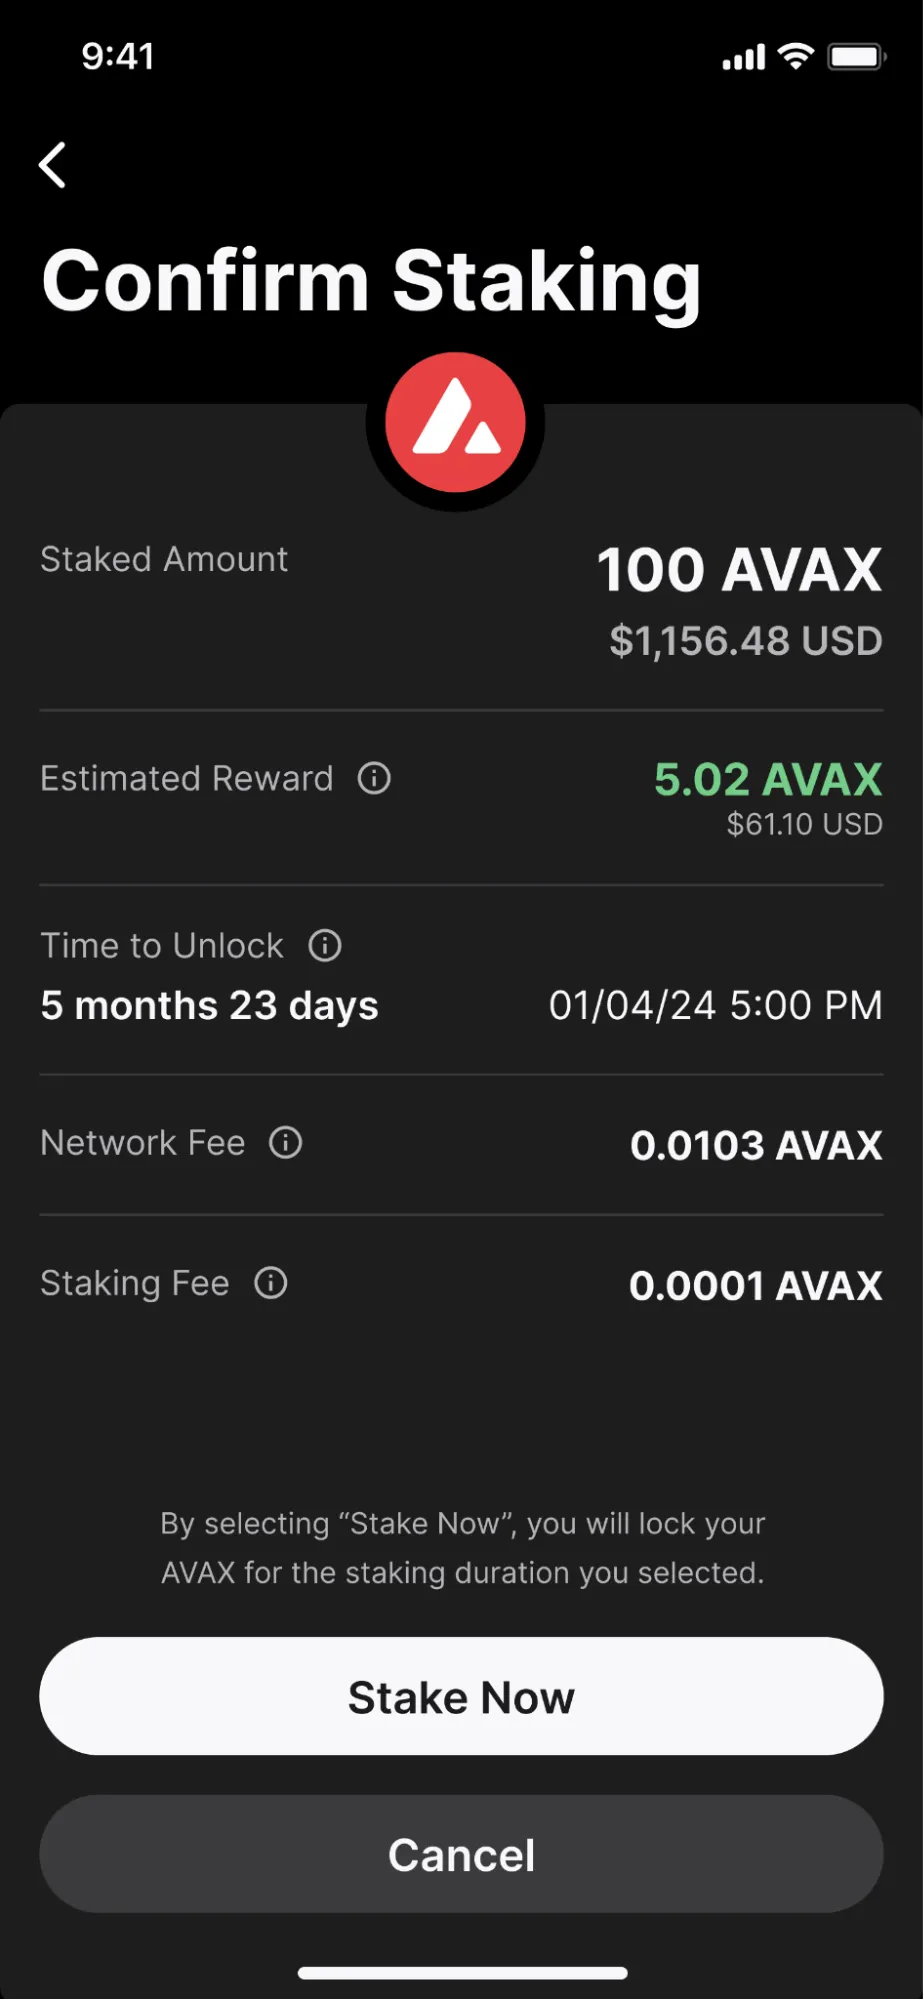
- Last, users can access a summary of their staking information. Maintaining the flexibility to revisit and modify any entered details, cancel the delegation setup, or finalize the delegation process by selecting the Stake Now button.
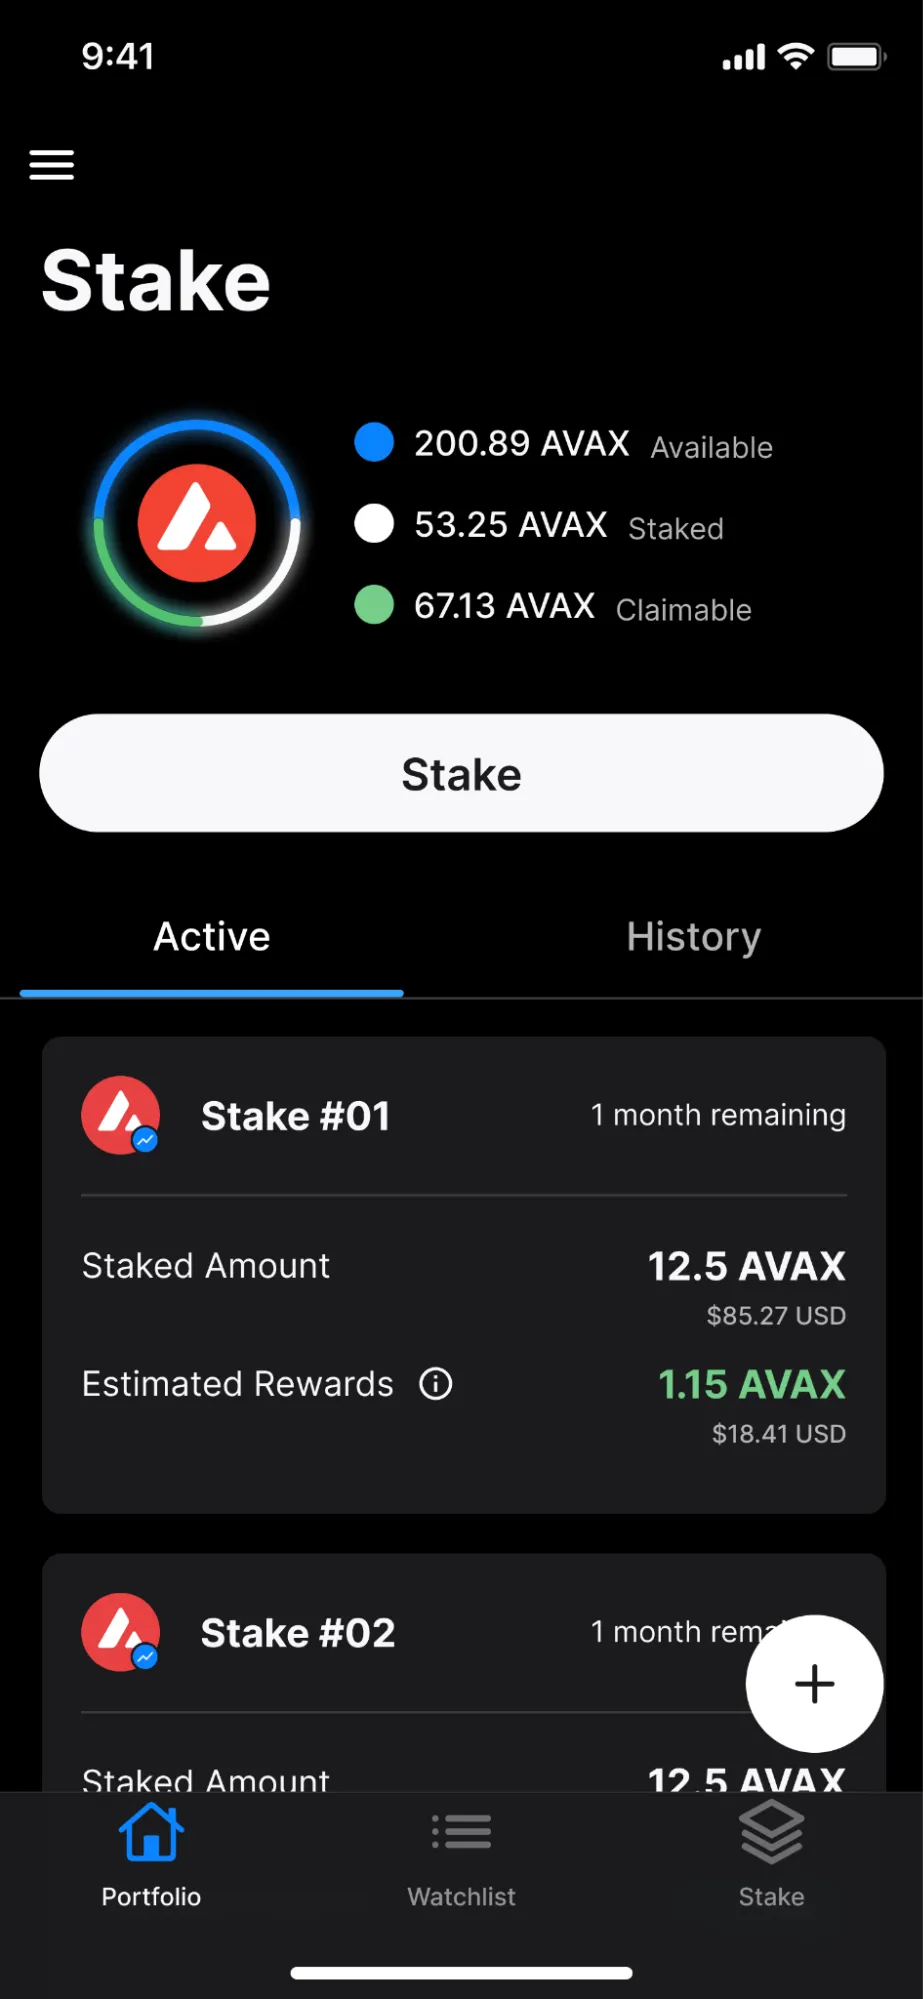
- Upon completion, users will be notified of the successful delegation. Review the transaction details using the Subnet Explorer or return to the Stake Dashboard for further actions.
For a more detailed guide, check out this support article.
3.Validating
For AVAX holders looking to add stake to their validator, besides setting up the Core extension as in the delegation process, it is also necessary to have previously set up a node. This can be done manually or by using an install script provided by the Ava Labs development team.
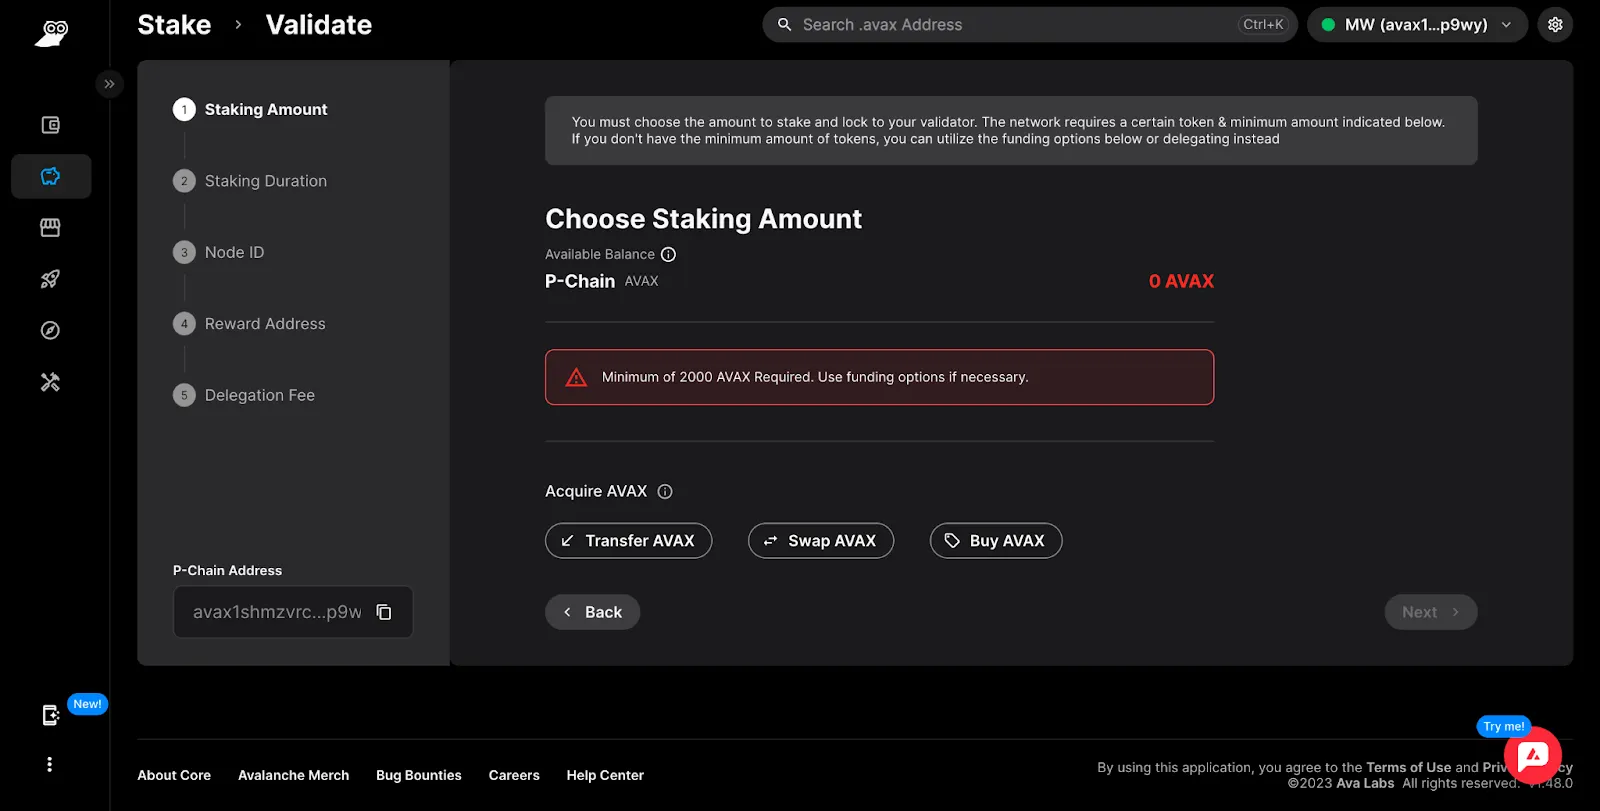
With Core extension set up and connected to Core web and with a node already set up, users can simply navigate to the Stake system and then to the “Validate” panel. As with the delegation process, users must have AVAX on the P-Chain in order to validate. Again, transferring or purchasing tokens will be options available to users without sufficient AVAX on the P-Chain to complete the validation process.

From this point on, the process to validate is similar in many ways to the delegation process. Users specify an amount of AVAX to validate, then choose either a pre-set or a custom staking duration.
Users must then provide a node ID to stake their AVAX to.
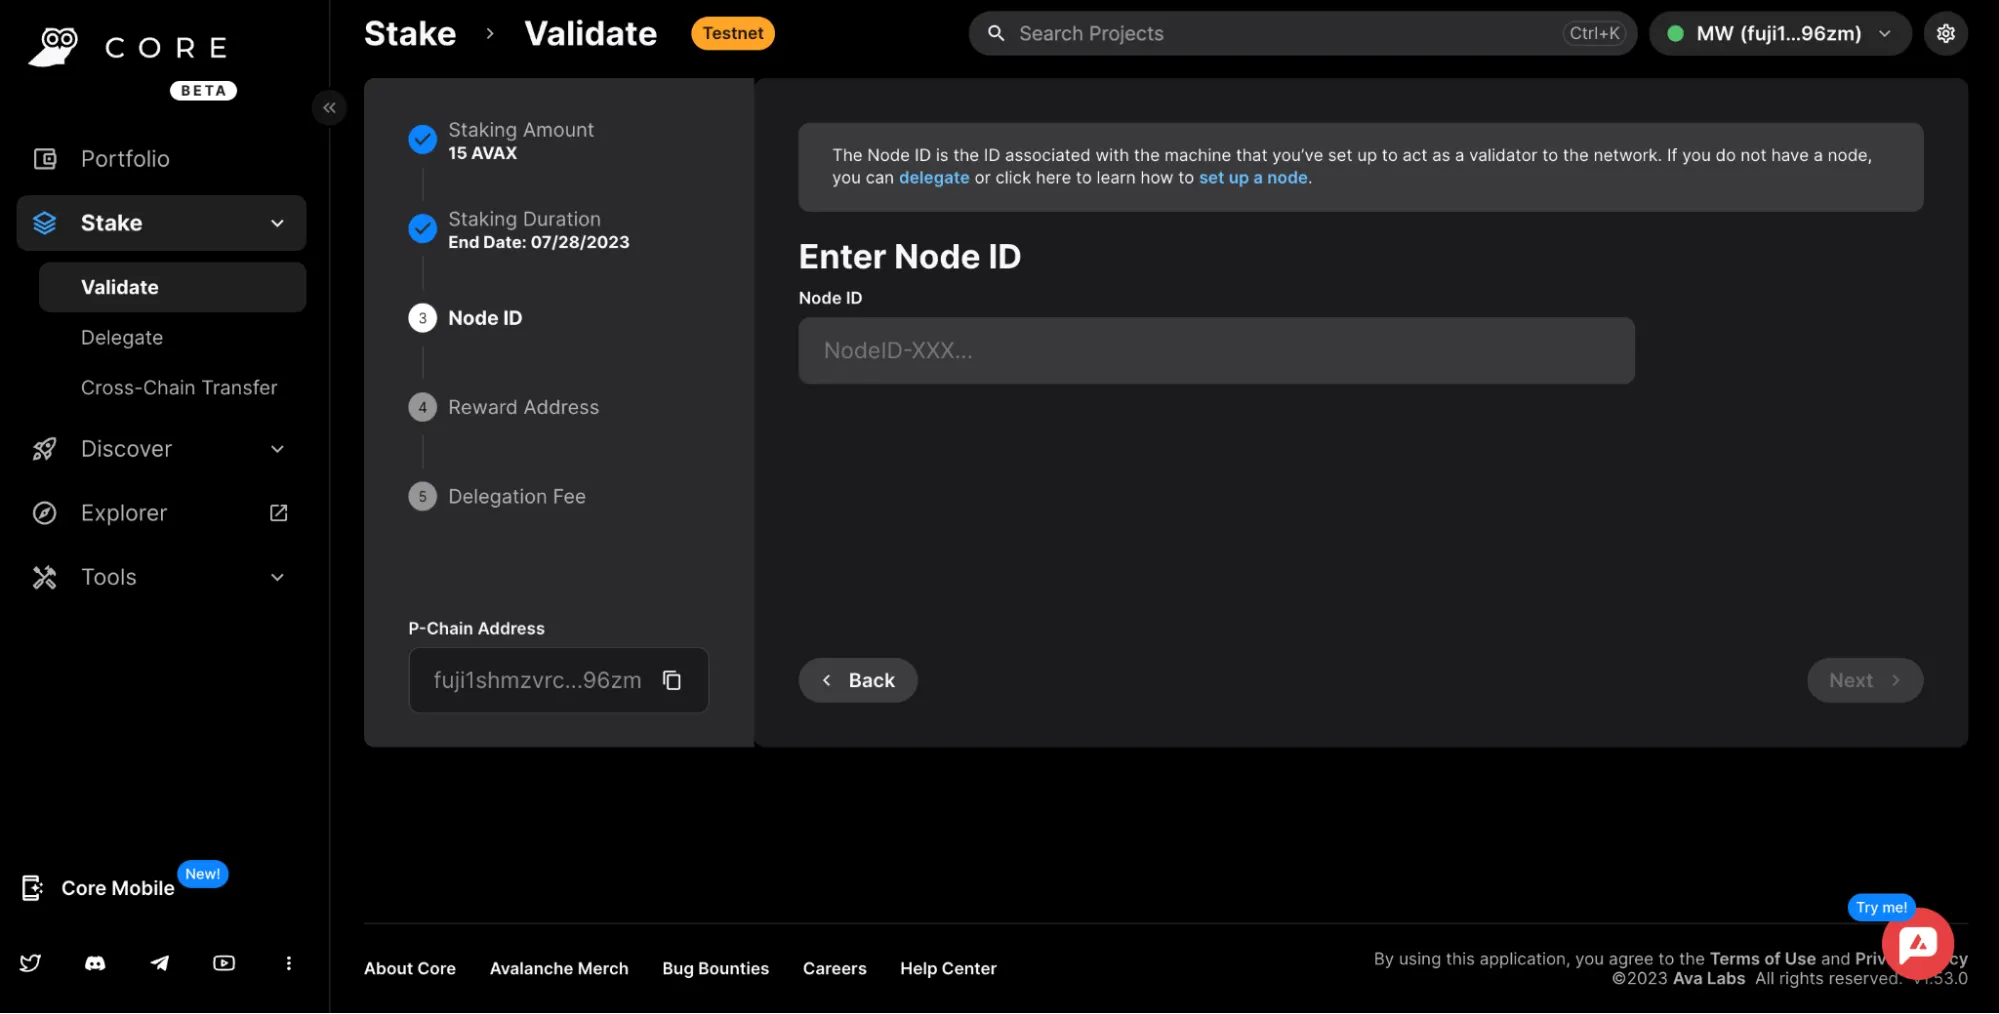
Finally, users confirm a wallet address to receive staking rewards.
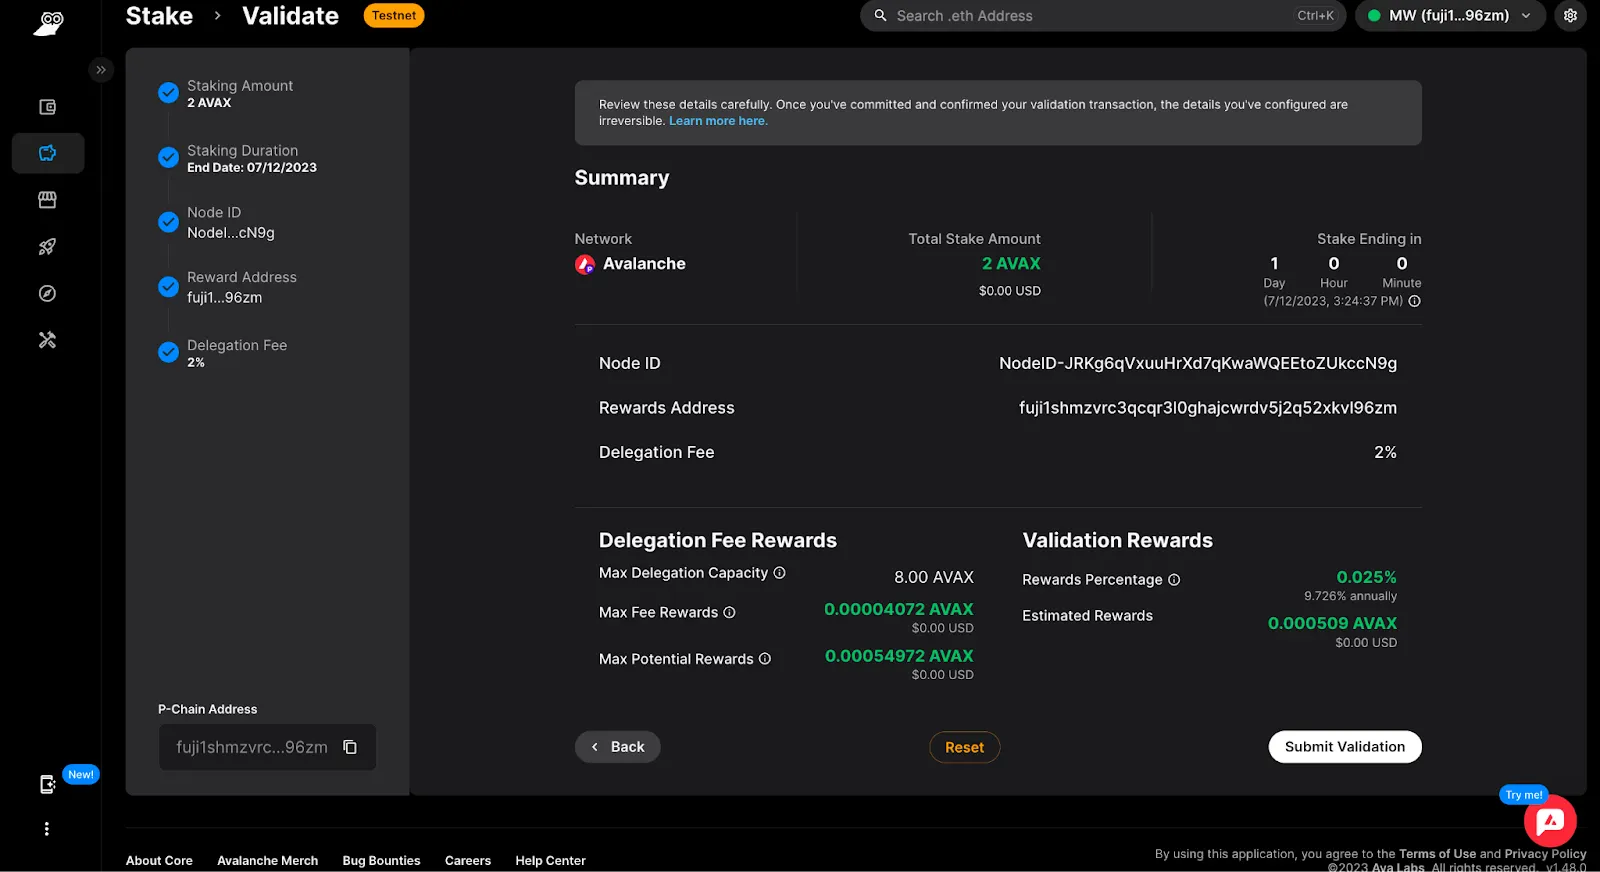
One distinction for validators as compared with delegators is that the former will be able to select a delegation fee in case any delegators contribute AVAX in the future. Users must select a fee between 2% and 100%.
To complete the validation process, users confirm details of the transaction, confirm the transaction itself on the Core extension, and then monitor the transaction information on the Subnet Explorer.
At this point, other users will be able to delegate to this node, and the validator will be able to track information about delegator counts, delegator stakes, and similar data.
For a more detailed guide, check out this support article.
4.Summary
As the go-to staking platform for Avalanche, Core provides a seamless and streamlined experience that offers customizability without the need for an intermediary. It provides the opportunity for user-directed, self-custodial staking and delegating directly to the protocol.
If you’re ready to try Core’s Stake feature, download the Core extension on the Chrome Web Store and head to core.app/stake.
For an on-the-go experience, download Core wallet on the Apple App Store or Google Play Store.
Brought to you by Core
Learn More about partnering with Decrypt.