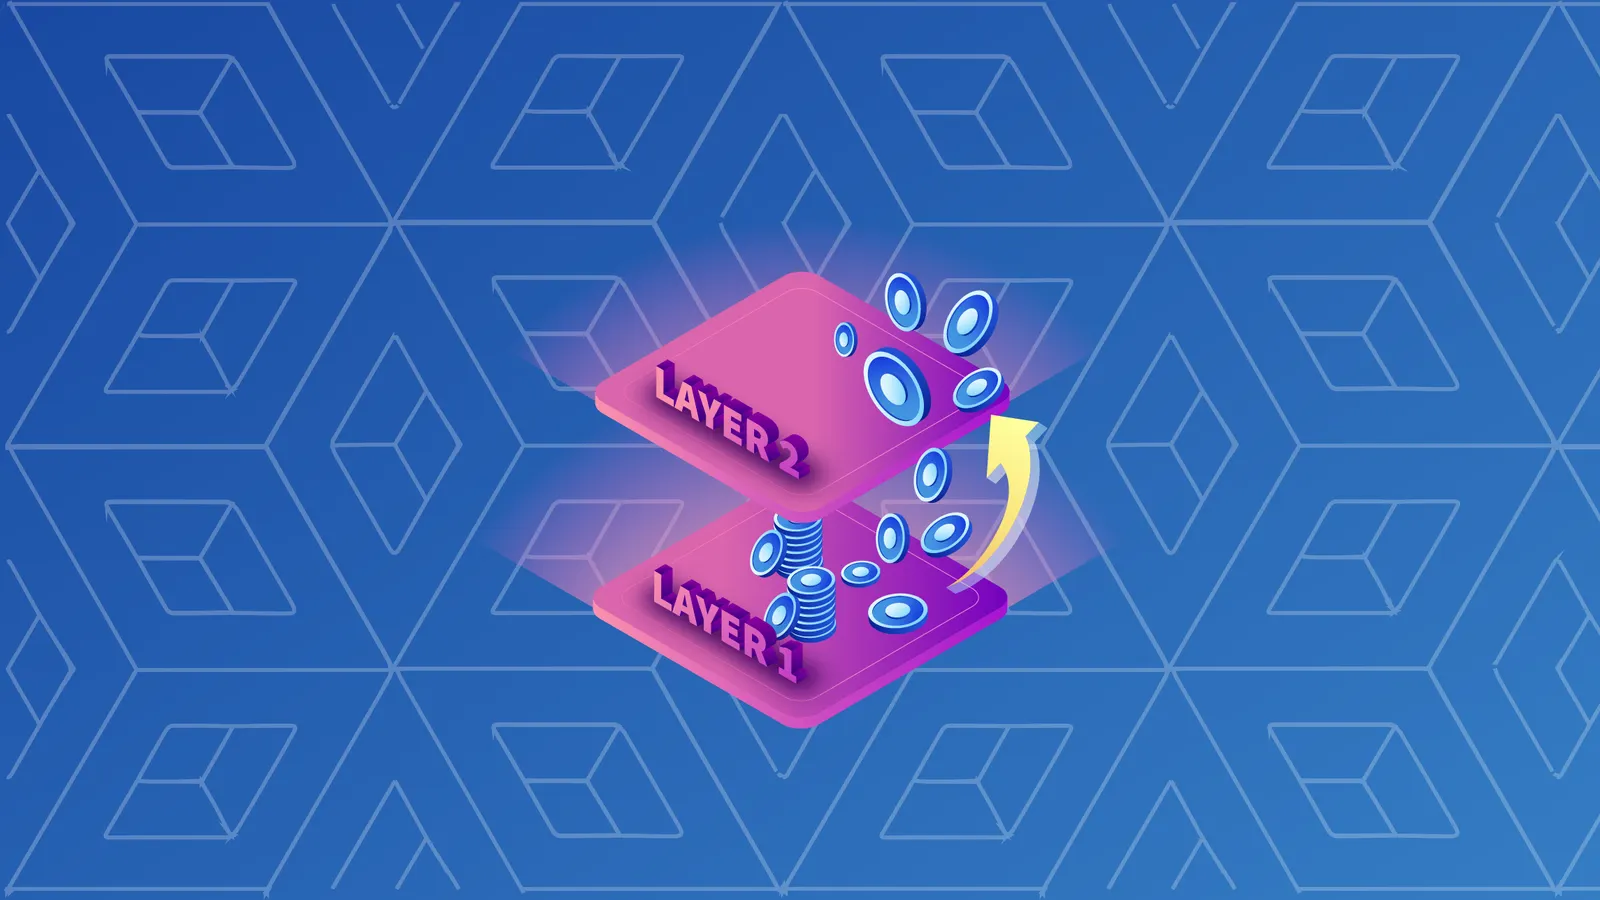

These days, crypto is composed of layer-1 and layer-2 technologies. Layer 1s are the base layer of a blockchain network—think Solana, Ethereum and Bitcoin. Layer-2 networks sit on top of layer-1 networks. Usually, layer 2s are faster and cheaper than the base layer of the blockchain. Sometimes, they can do things that layer-2 blockchains cannot, such as accept assets from other layer-1 blockchains.
You can determine if a technology is layer 1 or not by whether you earn the platform’s native currency (e.g., SOL, ETH) for validating transactions (by mining or staking), and whether the network ultimately relies on another blockchain to function. If it’s a standalone blockchain, you’re looking at a layer 1.
Layer 2s remain dependent on a layer 1 (also known as a base layer), and feed data back to it. Often, they are less decentralized than the layer-1 blockchain—that’s the price you pay to save money and time on a layer 2.
Examples of layer-2 scaling technologies include Arbitrum, Polygon and Optimism. Each processes Ethereum transactions on a separate, high-speed, low-cost blockchain network before sending transaction information back to Ethereum. Token bridges, such as Multichain, WBTC, Ren and Wormhole, let you port assets across blockchains. We’ll focus on scaling L2s here, which essentially speed up activity relating to a single blockchain, rather than multichain bridges, which let you port assets across multiple blockchain networks.
To take advantage of the speed and cheapness of a layer-2 technology, you have to send funds to these alternate networks, do your business, and then, if you like, convert all your crypto back to the base layer of the blockchain.
For instance, you could send 10 ETH to Loopring, trade on its gas-free decentralized exchange, and then cash out whatever you have remaining back to the Ethereum blockchain. But how do you do this? Luckily, the method is fairly consistent across bridges, and even luckier, we’re about to teach you.
Step 1: Pick a layer-2 network
The first thing you have to do is pick a layer-2 network to which you plan to bridge your tokens. (Moving funds from an L1 to an L2 is known as “bridging.” Not all bridges are multichain; some only work with Ethereum). Different solutions abound, and some are attached to specific layer 1s—Ethereum being the most popular because it is relatively expensive and slow. Prominent Ethereum layer-2 bridges include Arbitrum, Boba, Loopring, Optimism and dYdX.
(You’ve also got multi-chain token bridges, which focus on interoperability. On these, you can port your tokens between blockchains without having to worry whether a native asset is supported by your target blockchain. We won’t focus on these bridges in this article.)
Step 2: Ready your wallets
L2 bridges are accessed through non-custodial Web3 wallets. MetaMask is the most popular choice, but most wallets should work. Fill your wallet with the assets you plan to send over the bridge, plus some of the L1’s native token to fuel that transaction—in Ethereum’s case, ETH.
Step 3: Bridge!
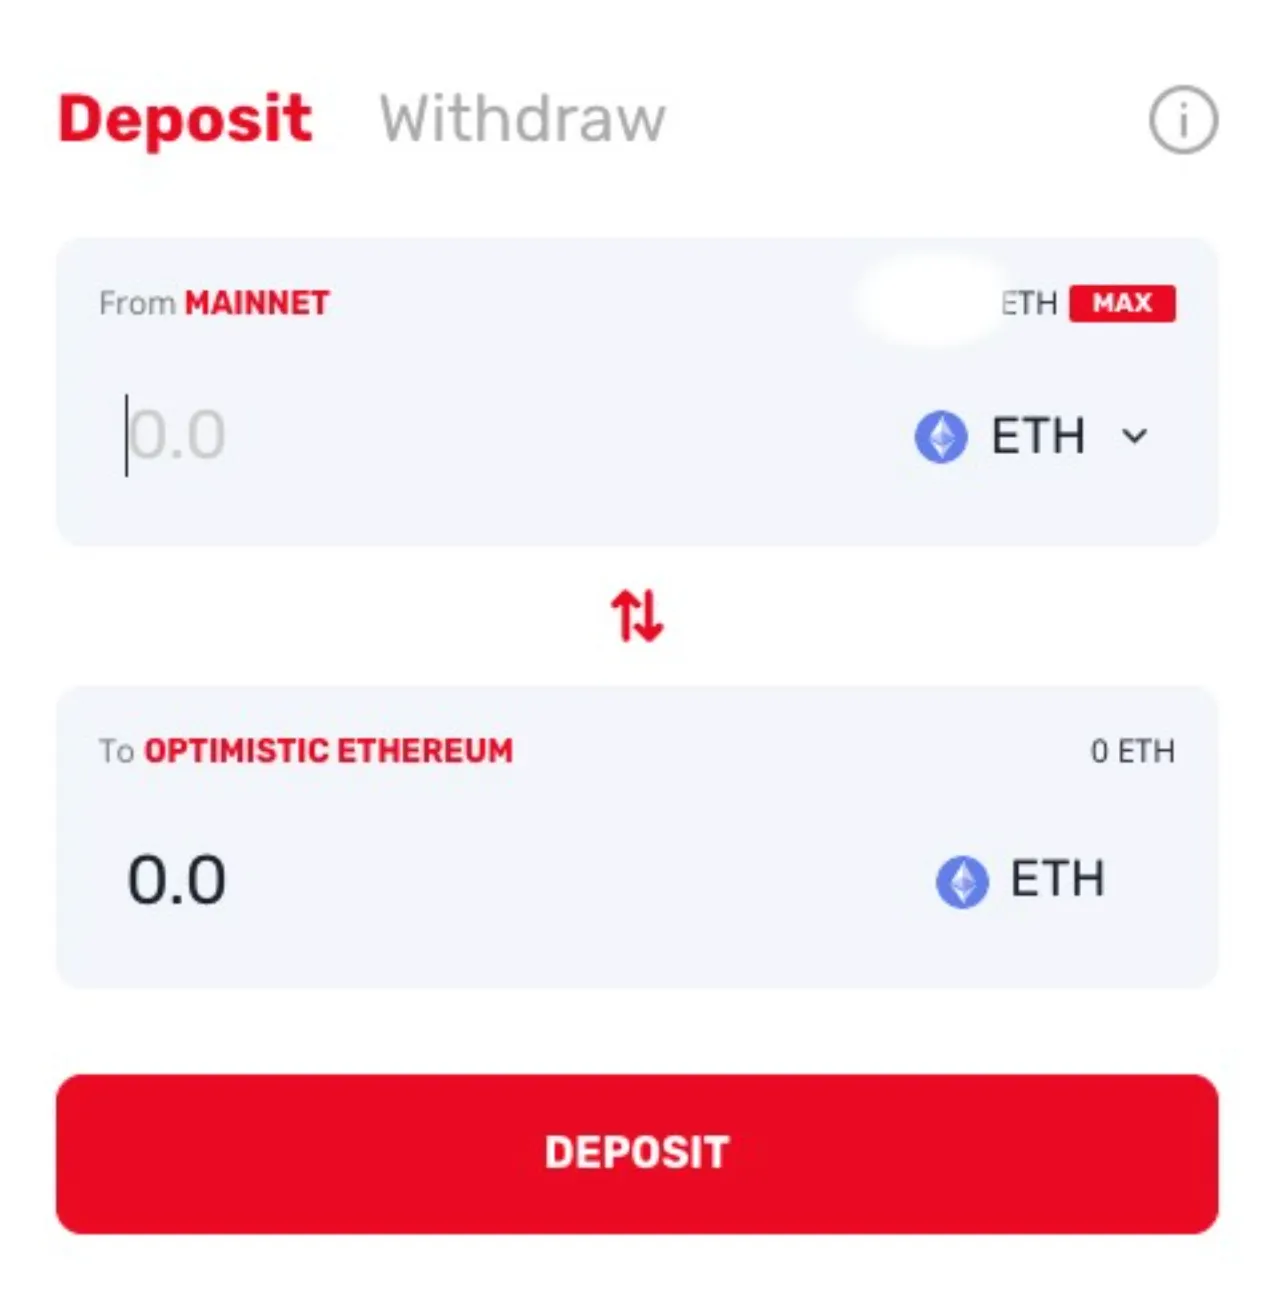
Next, head to the target L2’s gateway. For this example, we’ll choose Optimism, but the method is pretty consistent across bridges. After you arrive at the gateway, you’ll be met with a screen that looks like this:
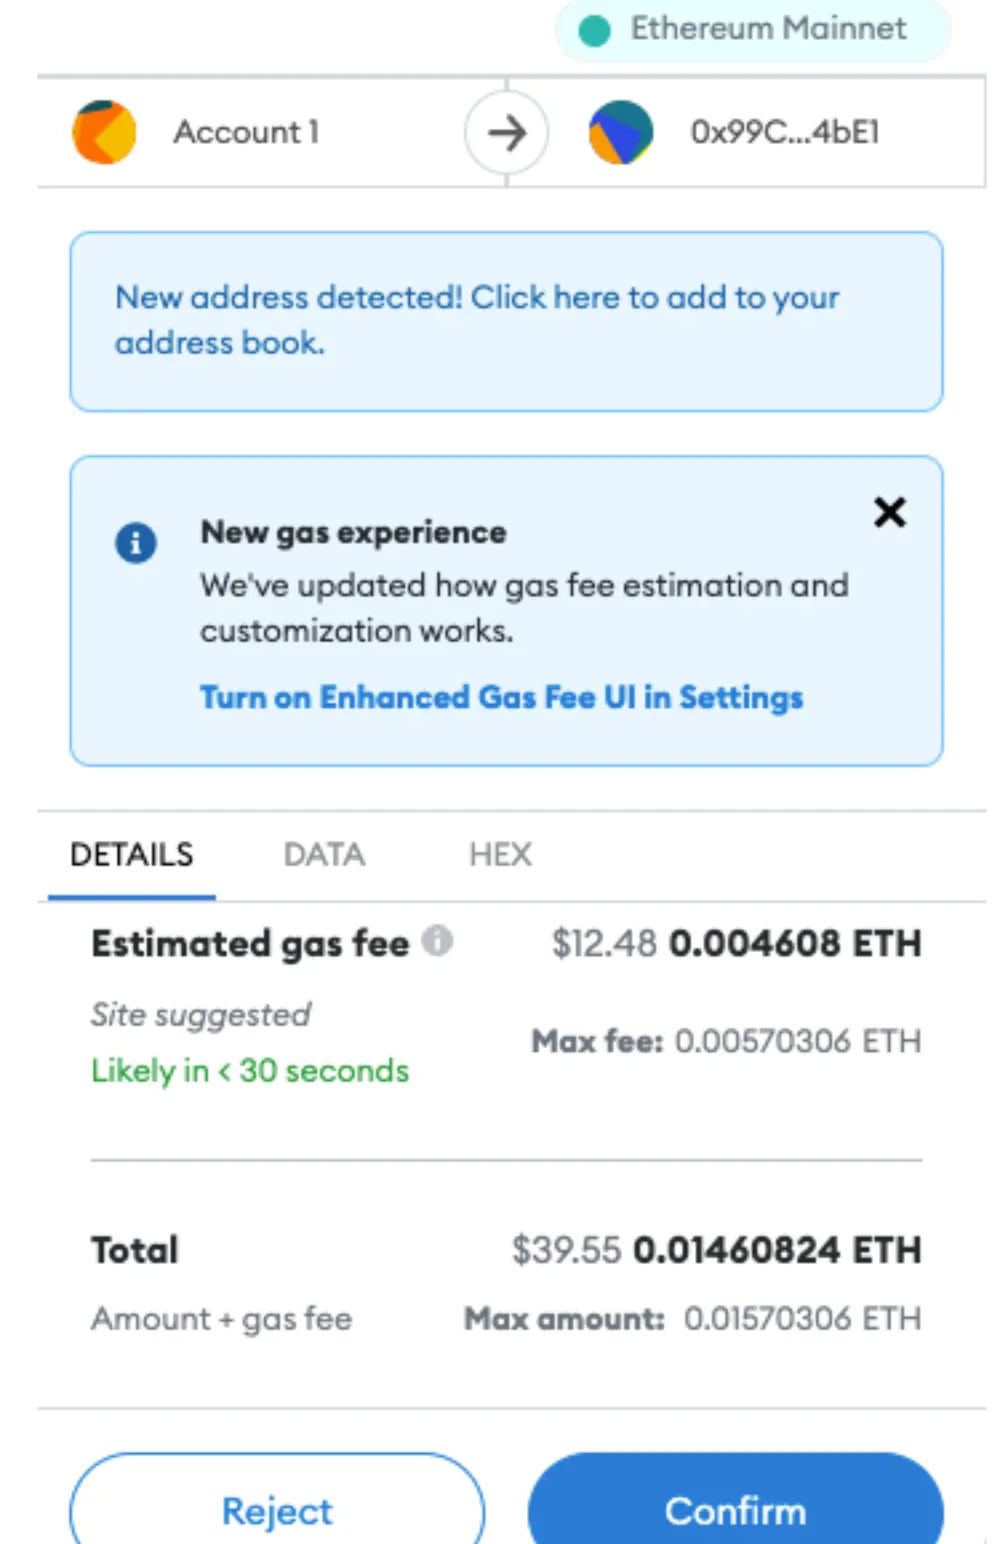
Here, you can convert any layer-1 ERC-20 token (or ETH itself) to the bridge. This will move your token to the L2 network. We plugged in 0.01 ETH, or $27 as of this writing, and were met with the following screen:
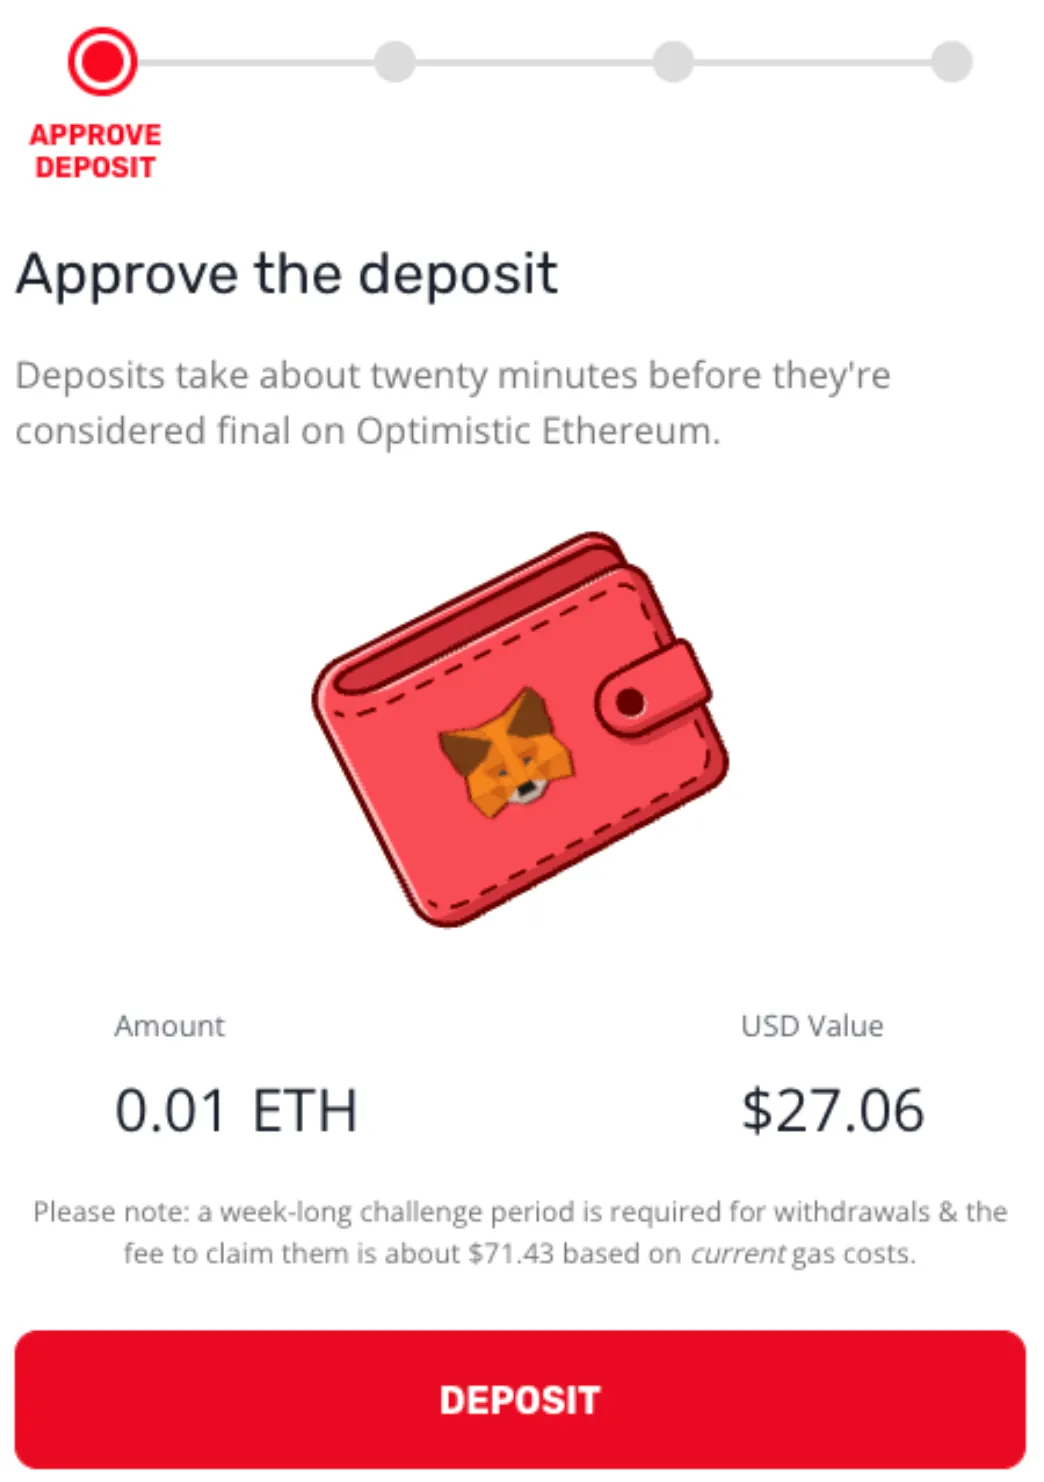
To port the assets, we had to pay a gas fee—the price of transacting on the Ethereum network. MetaMask quoted us about $12.50.
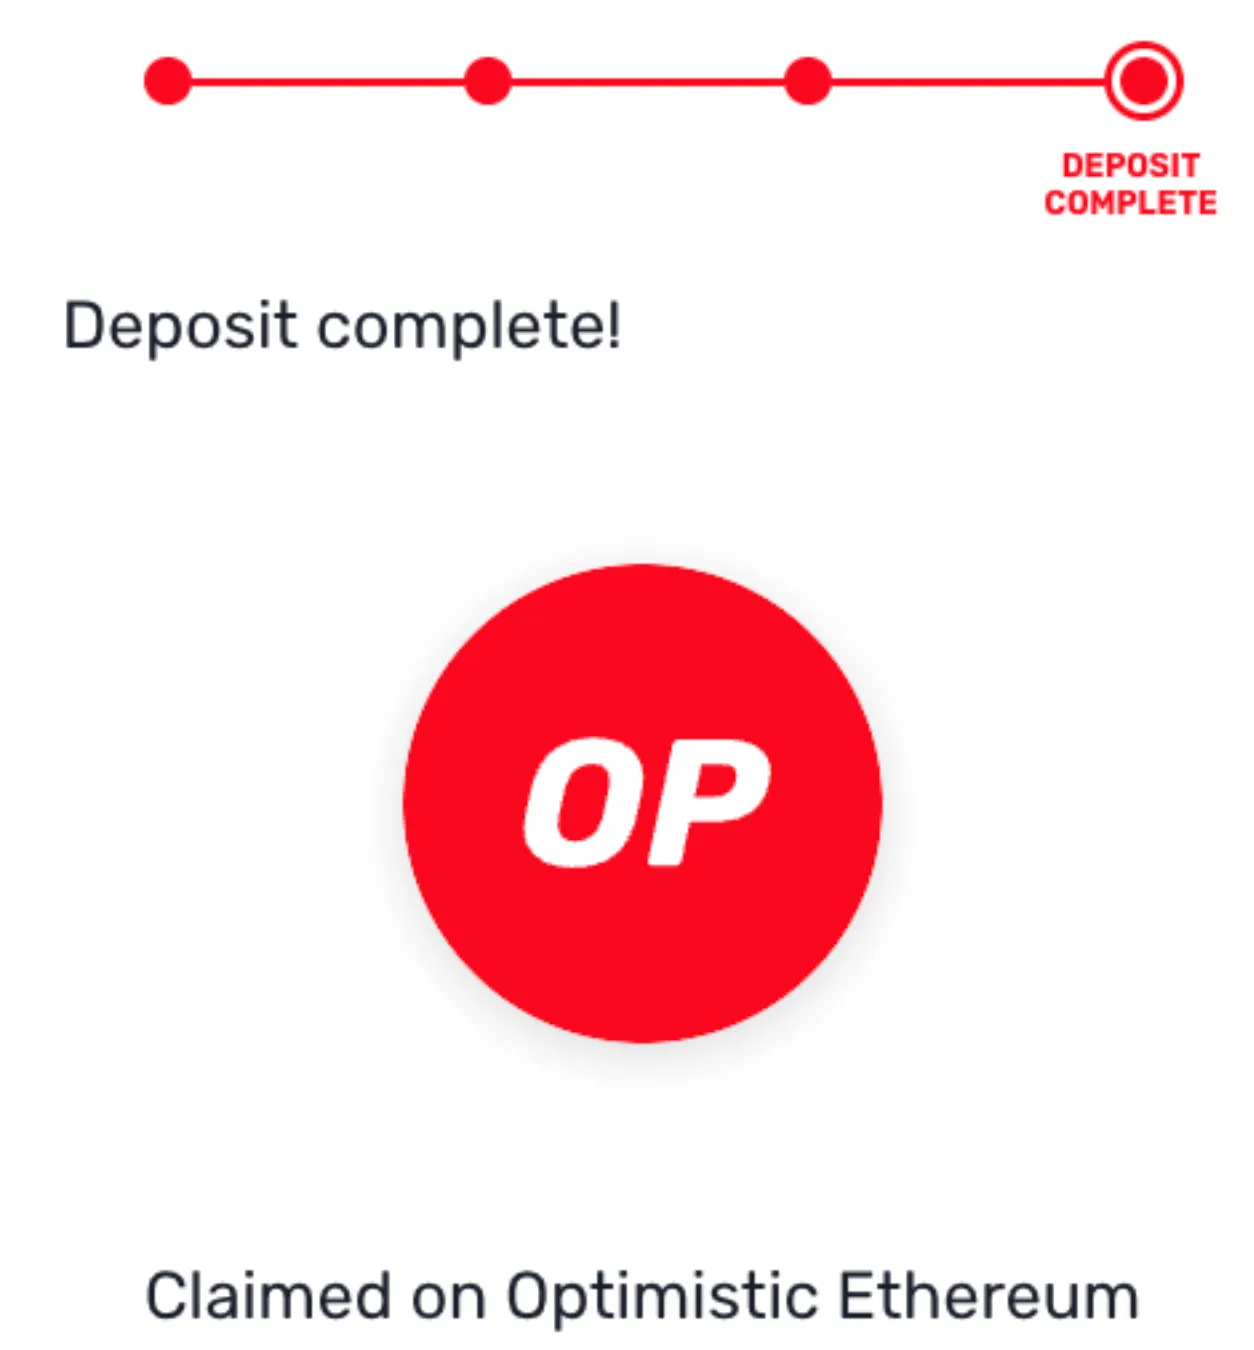
We jubilantly paid it, knowing that—after this—the transactions would be considerably cheaper. It took about 20 minutes for the funds to arrive on Optimism. Once the transaction had settled, we were greeted with the following message:
Step 4: Conduct your business on the L2
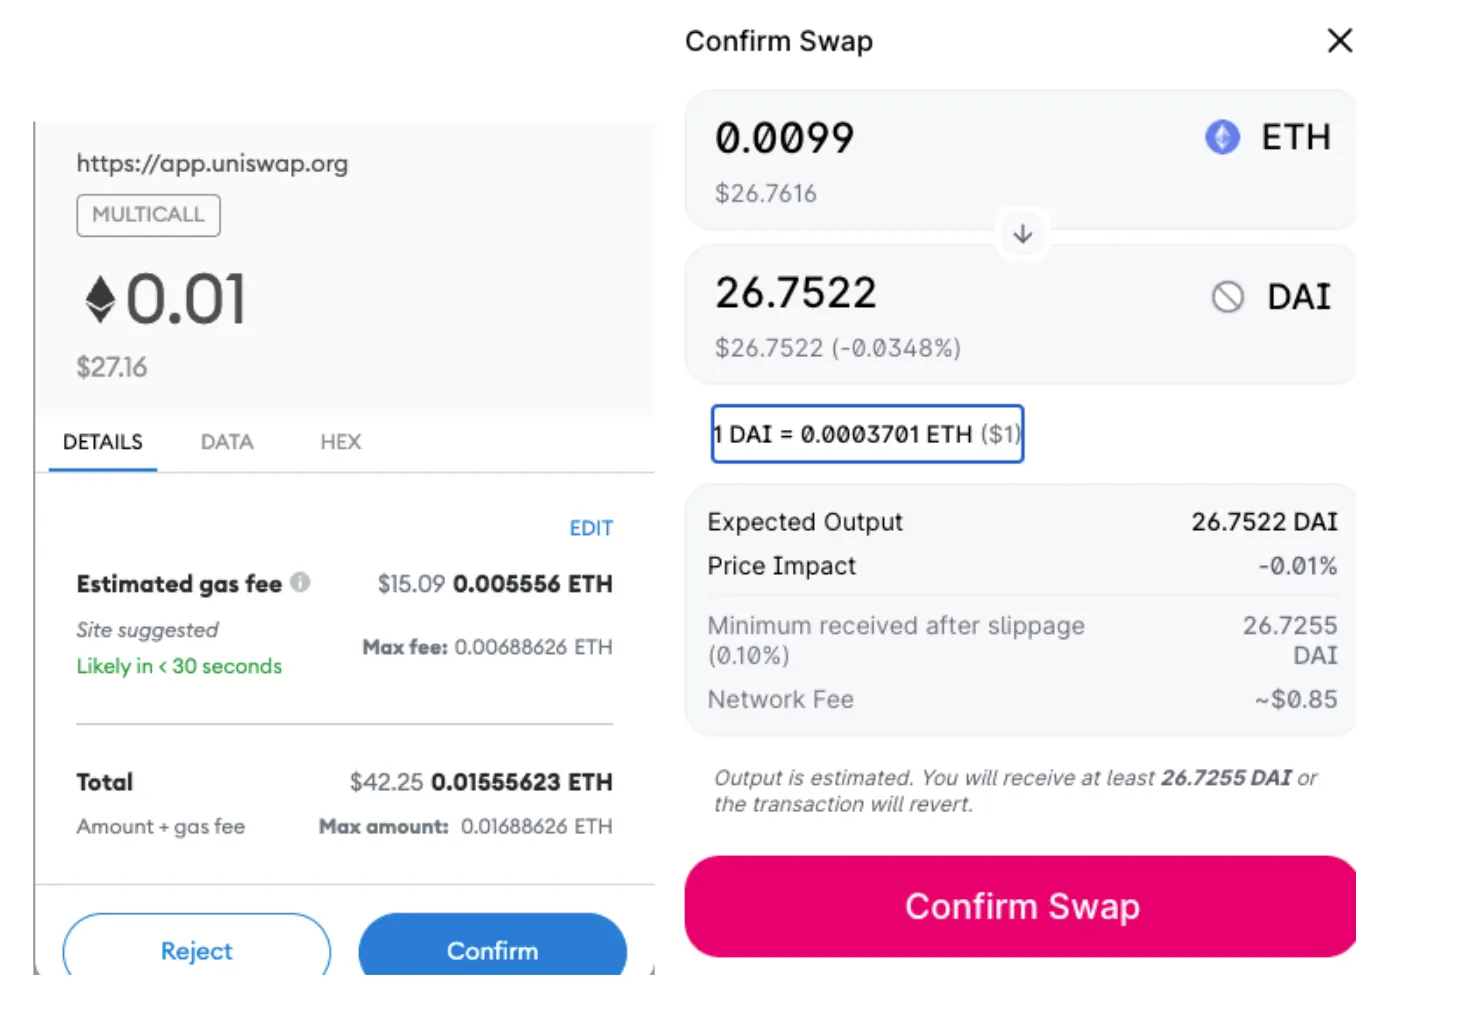
Now your tokens should be on the layer-2 network. That means that you can use them within any decentralized finance protocol that has integrated the L2, or transact them to other L2 wallets. Continuing with our example of Optimism, we can now trade on Uniswap through the Optimism L2 bridge—instead of the more expensive Ethereum mainnet.
To do so, we switched to Optimism after the payment had gone through by hitting “Optimism” from the network selection tab, and giving MetaMask permission to change the network from Ethereum to Optimism.
Things should be cheaper and quicker on the L2. Uniswap quoted us $15 to trade 0.01 ETH for DAI on Ethereum mainnet—not a huge deal less than the $27 in ETH we were swapping. But when we switched to Optimism and traded 0.0099 ETH, Optimism charged us under $1 in transaction fees, and the transaction took just 1.5 seconds.
Arbitrum works in almost exactly the same way. Other bridges might operate slightly differently, but the differences will be minor. Sometimes, you might pay transaction fees with the cryptocurrency native to the L2; in other cases, you might not even pay anything.
Step 5: Return your funds to the mainnet
Step five is optional. If you wanted, you could conduct business within the L2 indefinitely and never interact with the mainnet of the base-layer blockchain again. However, if you want to reverse the bridge, you can always convert your funds back to the mainnet versions.
Bridges take different amounts of time to do this. Withdrawals reliant on a piece of technology called optimistic rollups, for instance, take an entire week to go back to Ethereum. This is to allow the blockchain’s validators to settle any disputes that may arise from transactions that look fraudulent. Optimism and Arbitrum rely on optimistic rollups.
Quick knowledge poll test: why do withdrawals from plasma and optimistic rollups require a 1 week delay? What are the withdrawals-in-progress waiting for?
— vitalik.eth (@VitalikButerin) October 3, 2020
You’ll also have to pay a transaction fee to claim the tokens from the L2 network. Optimism wanted to wait a week and charge us about $60 in ETH to claim our tiny morsel of ETH. You can instantly withdraw your funds from Optimism if you reroute your trade via Hop Protocol or Celer. Hop’s exchange wanted to charge us $20 in DAI for the honor.
Another technology called zero-knowledge rollups, which power L2 bridges like Loopring, contain no such dispute-resolution mechanism, and withdrawals can take just a few minutes.