
Bitcoin is the future of money, they say. And we’re not doubting that. But, while the Bitcoin network is great at making large payments that don’t need to be settled quickly, it’s too expensive for making everyday, small payments.
Enter the Lightning Network: a second-layer solution built on top of the Bitcoin network that allows anyone to send bitcoin to each other instantly, for near-zero fees. But to use Lightning, you need to have a Lightning node. And sure, you could use a custodial solution to connect to the network, where somebody else makes the Lightning payment on your behalf. You could put your trust in third-party manufacturers and buy a ready-made Lightning node like the Casa Node. But what’s the fun in that?
There’s a much better way—for your self-sovereignity and your budget.
It involves starting from scratch. By buying general computer parts and downloading the software yourself, you can create your own Bitcoin Lightning node. And, as long as the parts have not been interfered with (unlikely if they’re super common), and you go through the motions correctly, you will be able to make your own bitcoin payments, both normal ones (it’s a full Bitcoin node) and Lightning ones. And nobody can stop you. Not banks, governments, your parents: nobody.
On top of this, you’ll be contributing to the health of the Bitcoin network and keeping it running. “But won’t this be super difficult?” I hear you ask. Not at all. I even managed to put one together in a few days—for just $150 in parts—so you can too. Here’s how I did it.
DIY Bitcoin Lightning node: The building blocks
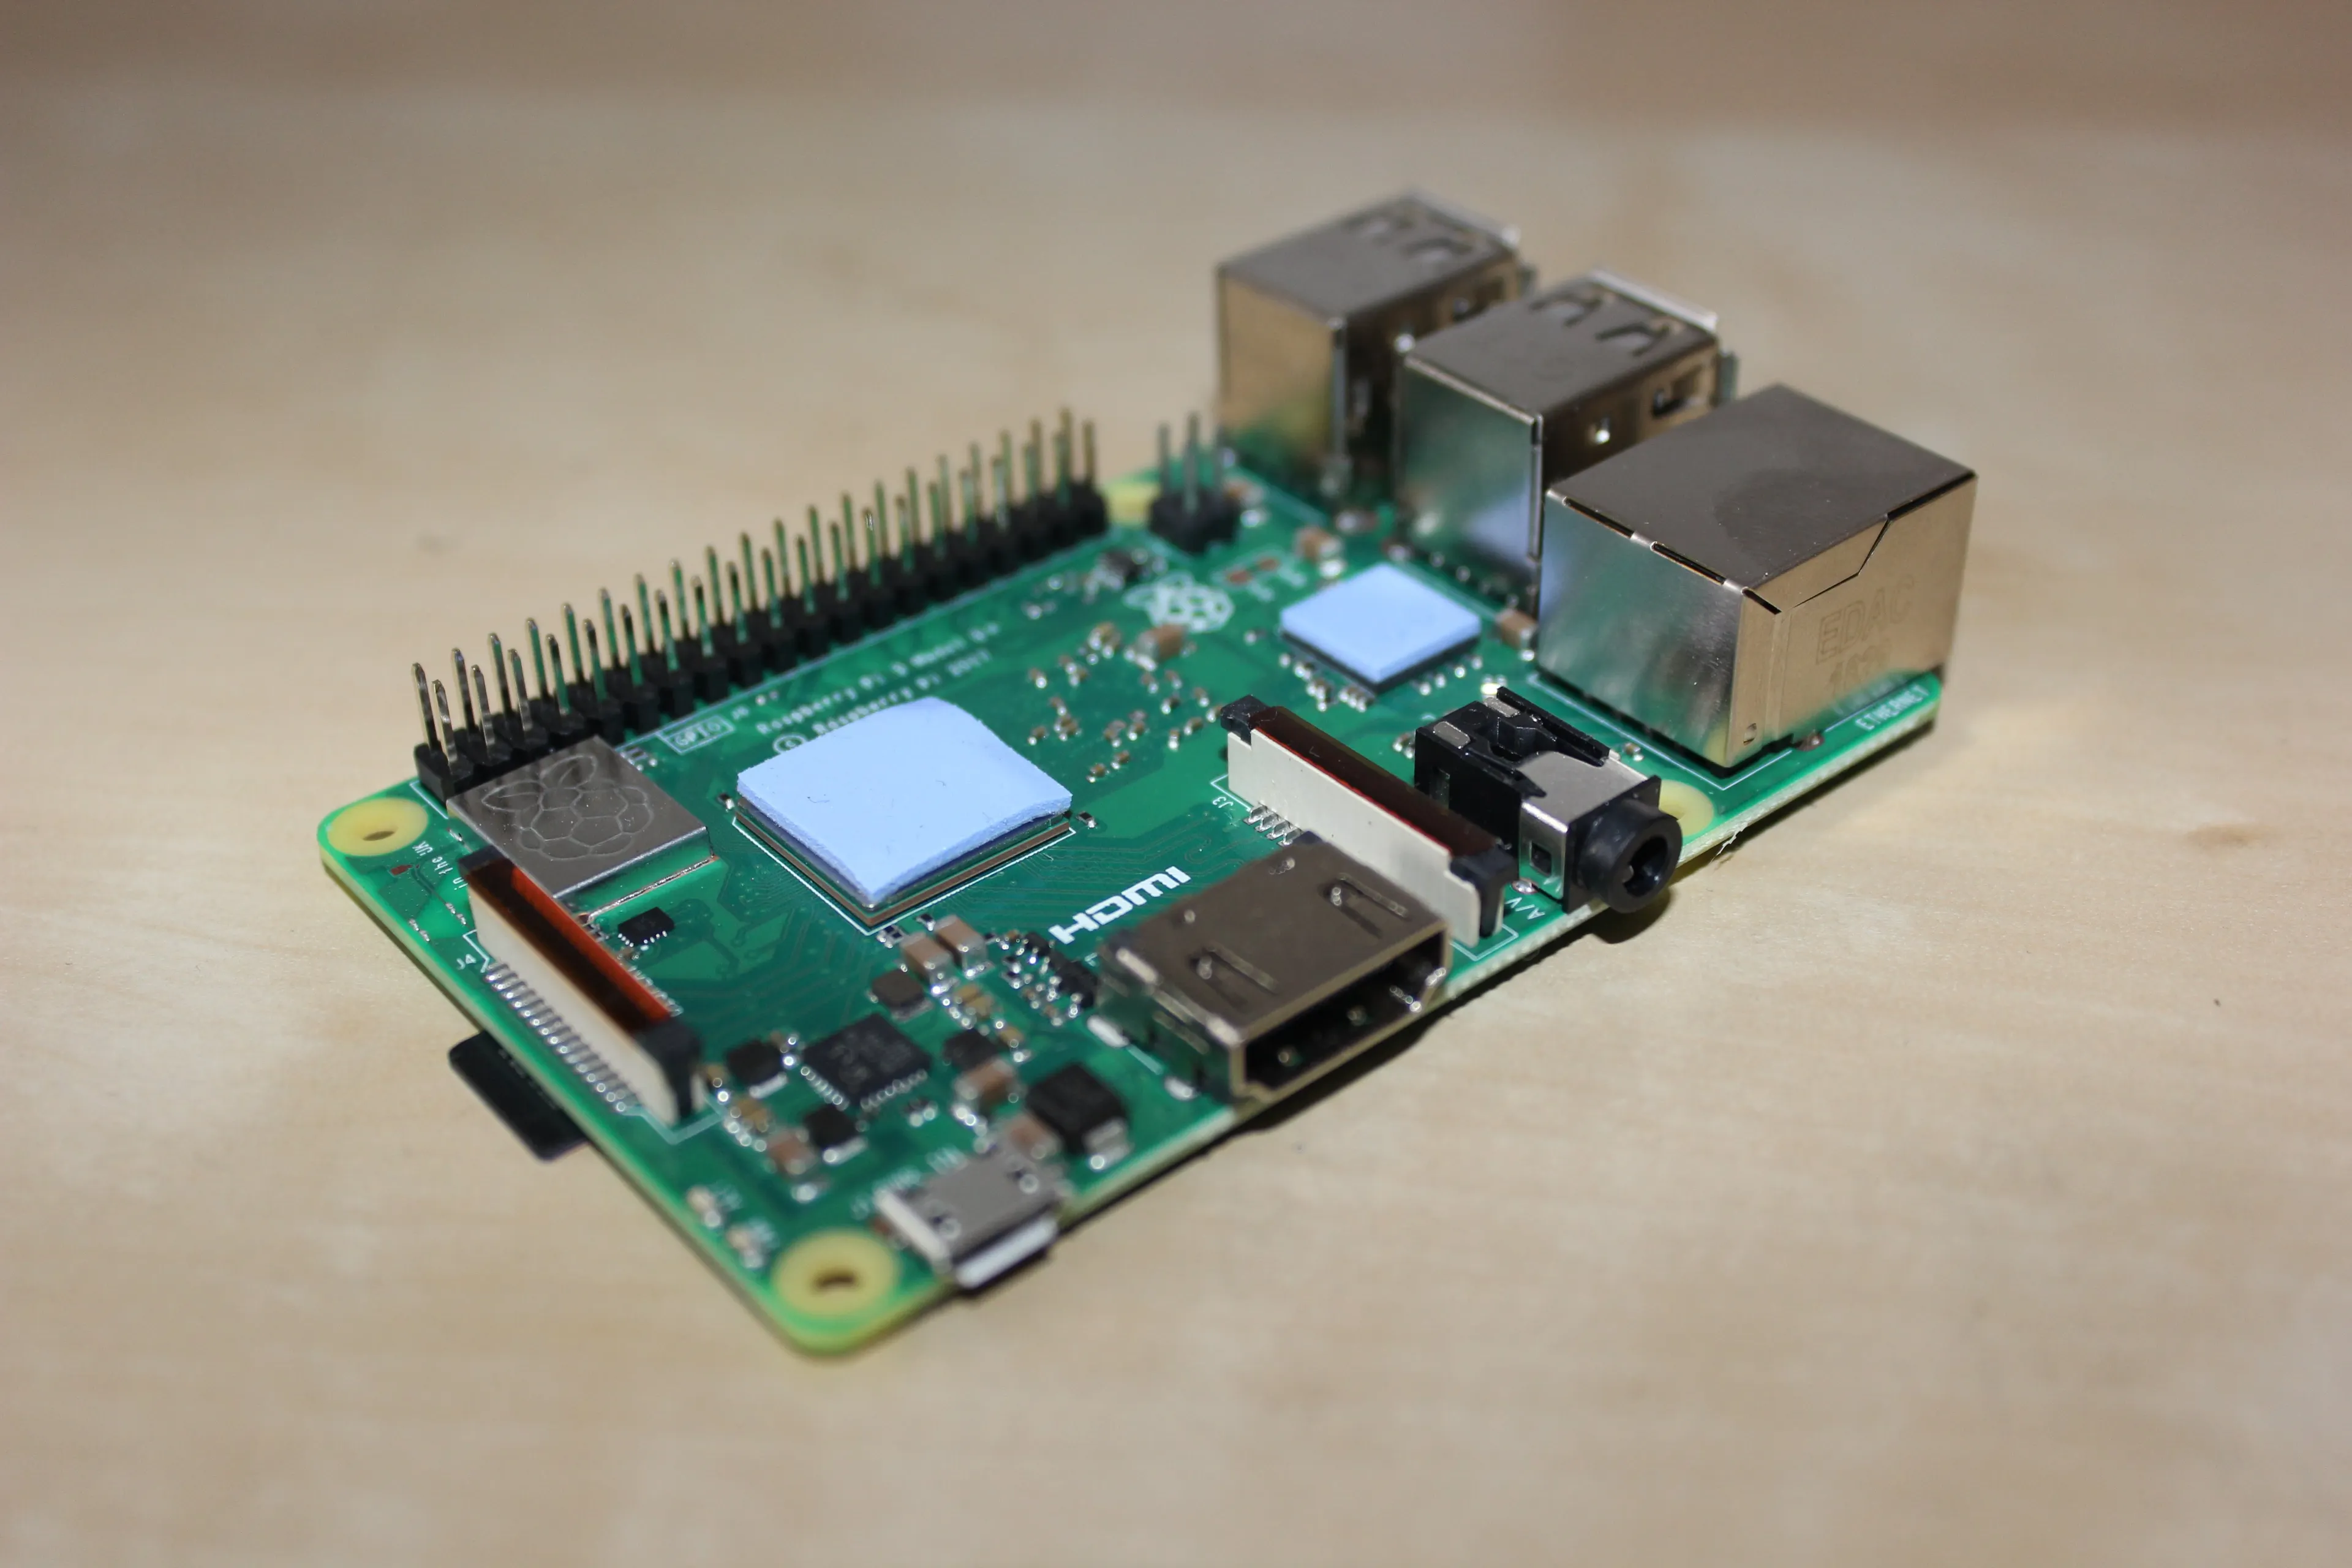
First things first, I needed to put the physical pieces together. The base of the project was to be a small computer, known as a Raspberry Pi, with a screen and some extra storage. To choose which parts, my first port of call was this website, which, if you scroll down, has a list of parts depending on which country you live in. Being in the UK—and stingy—I went for the minimal package on offer, snapping up a Raspberry Pi 3 B+ and the associated parts. It cost £124 ($152) all together.
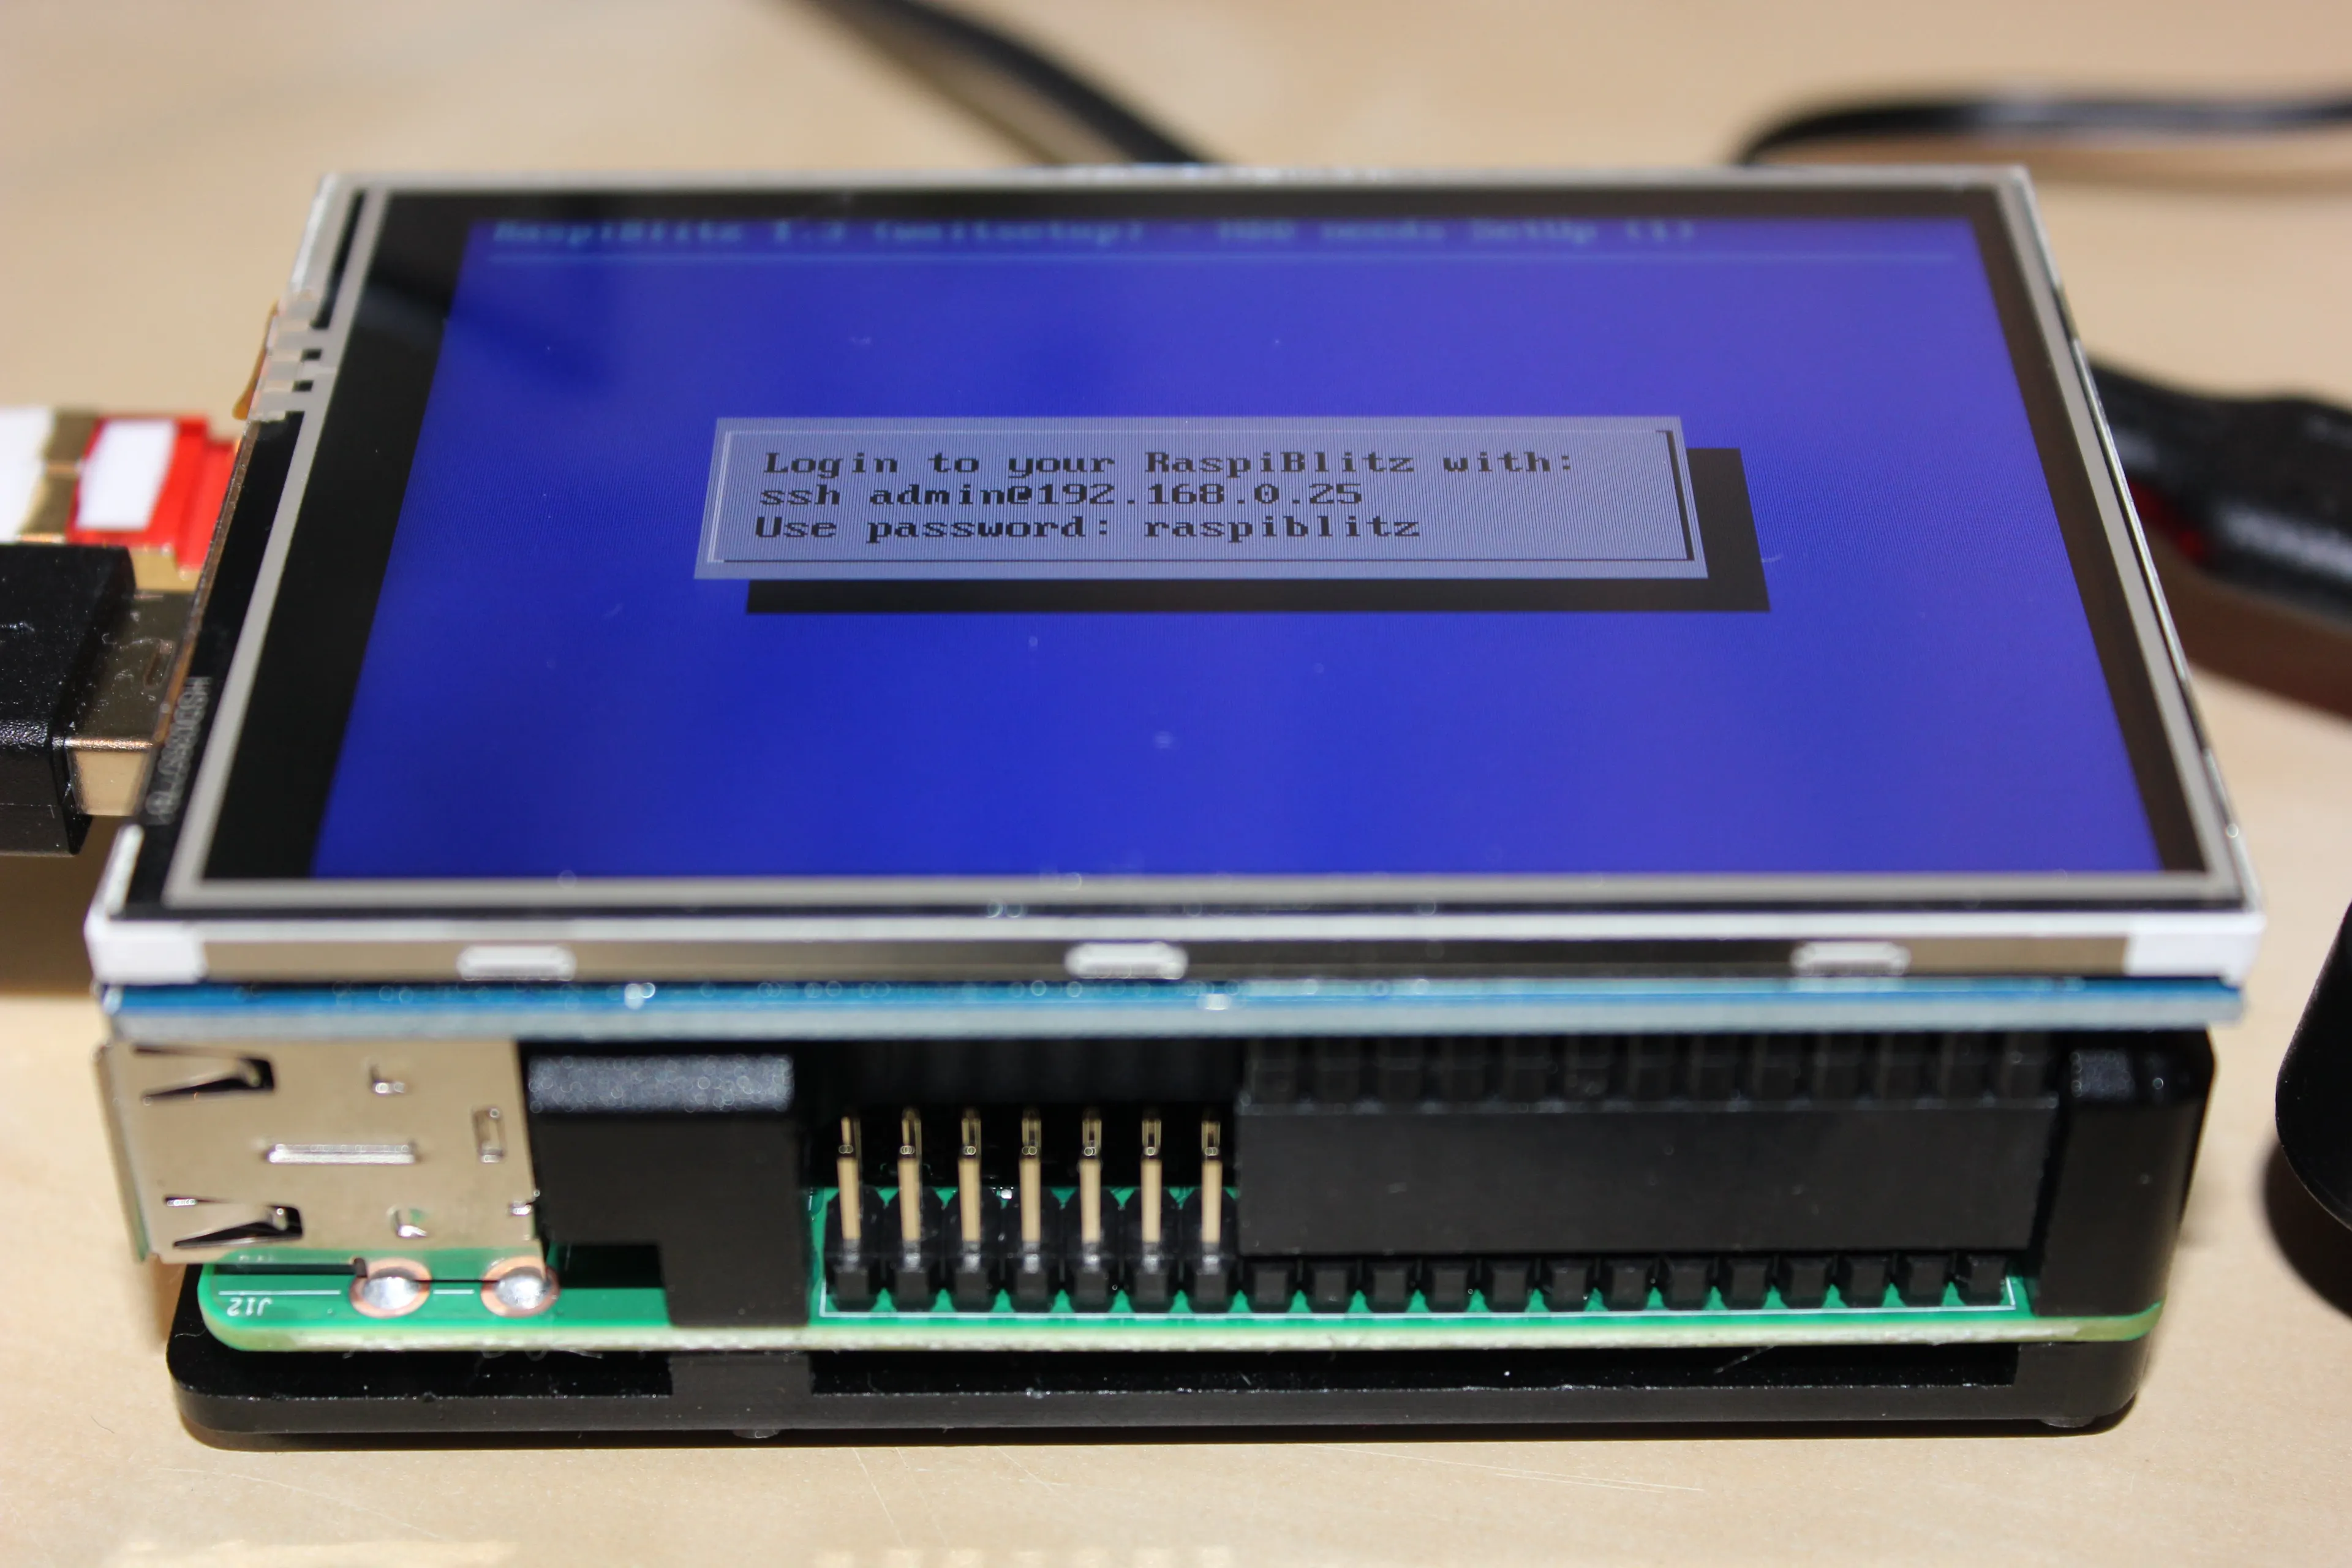
Not exactly being a computer expert, I decided to follow the RaspiBlitz tutorial laid out on GitHub.
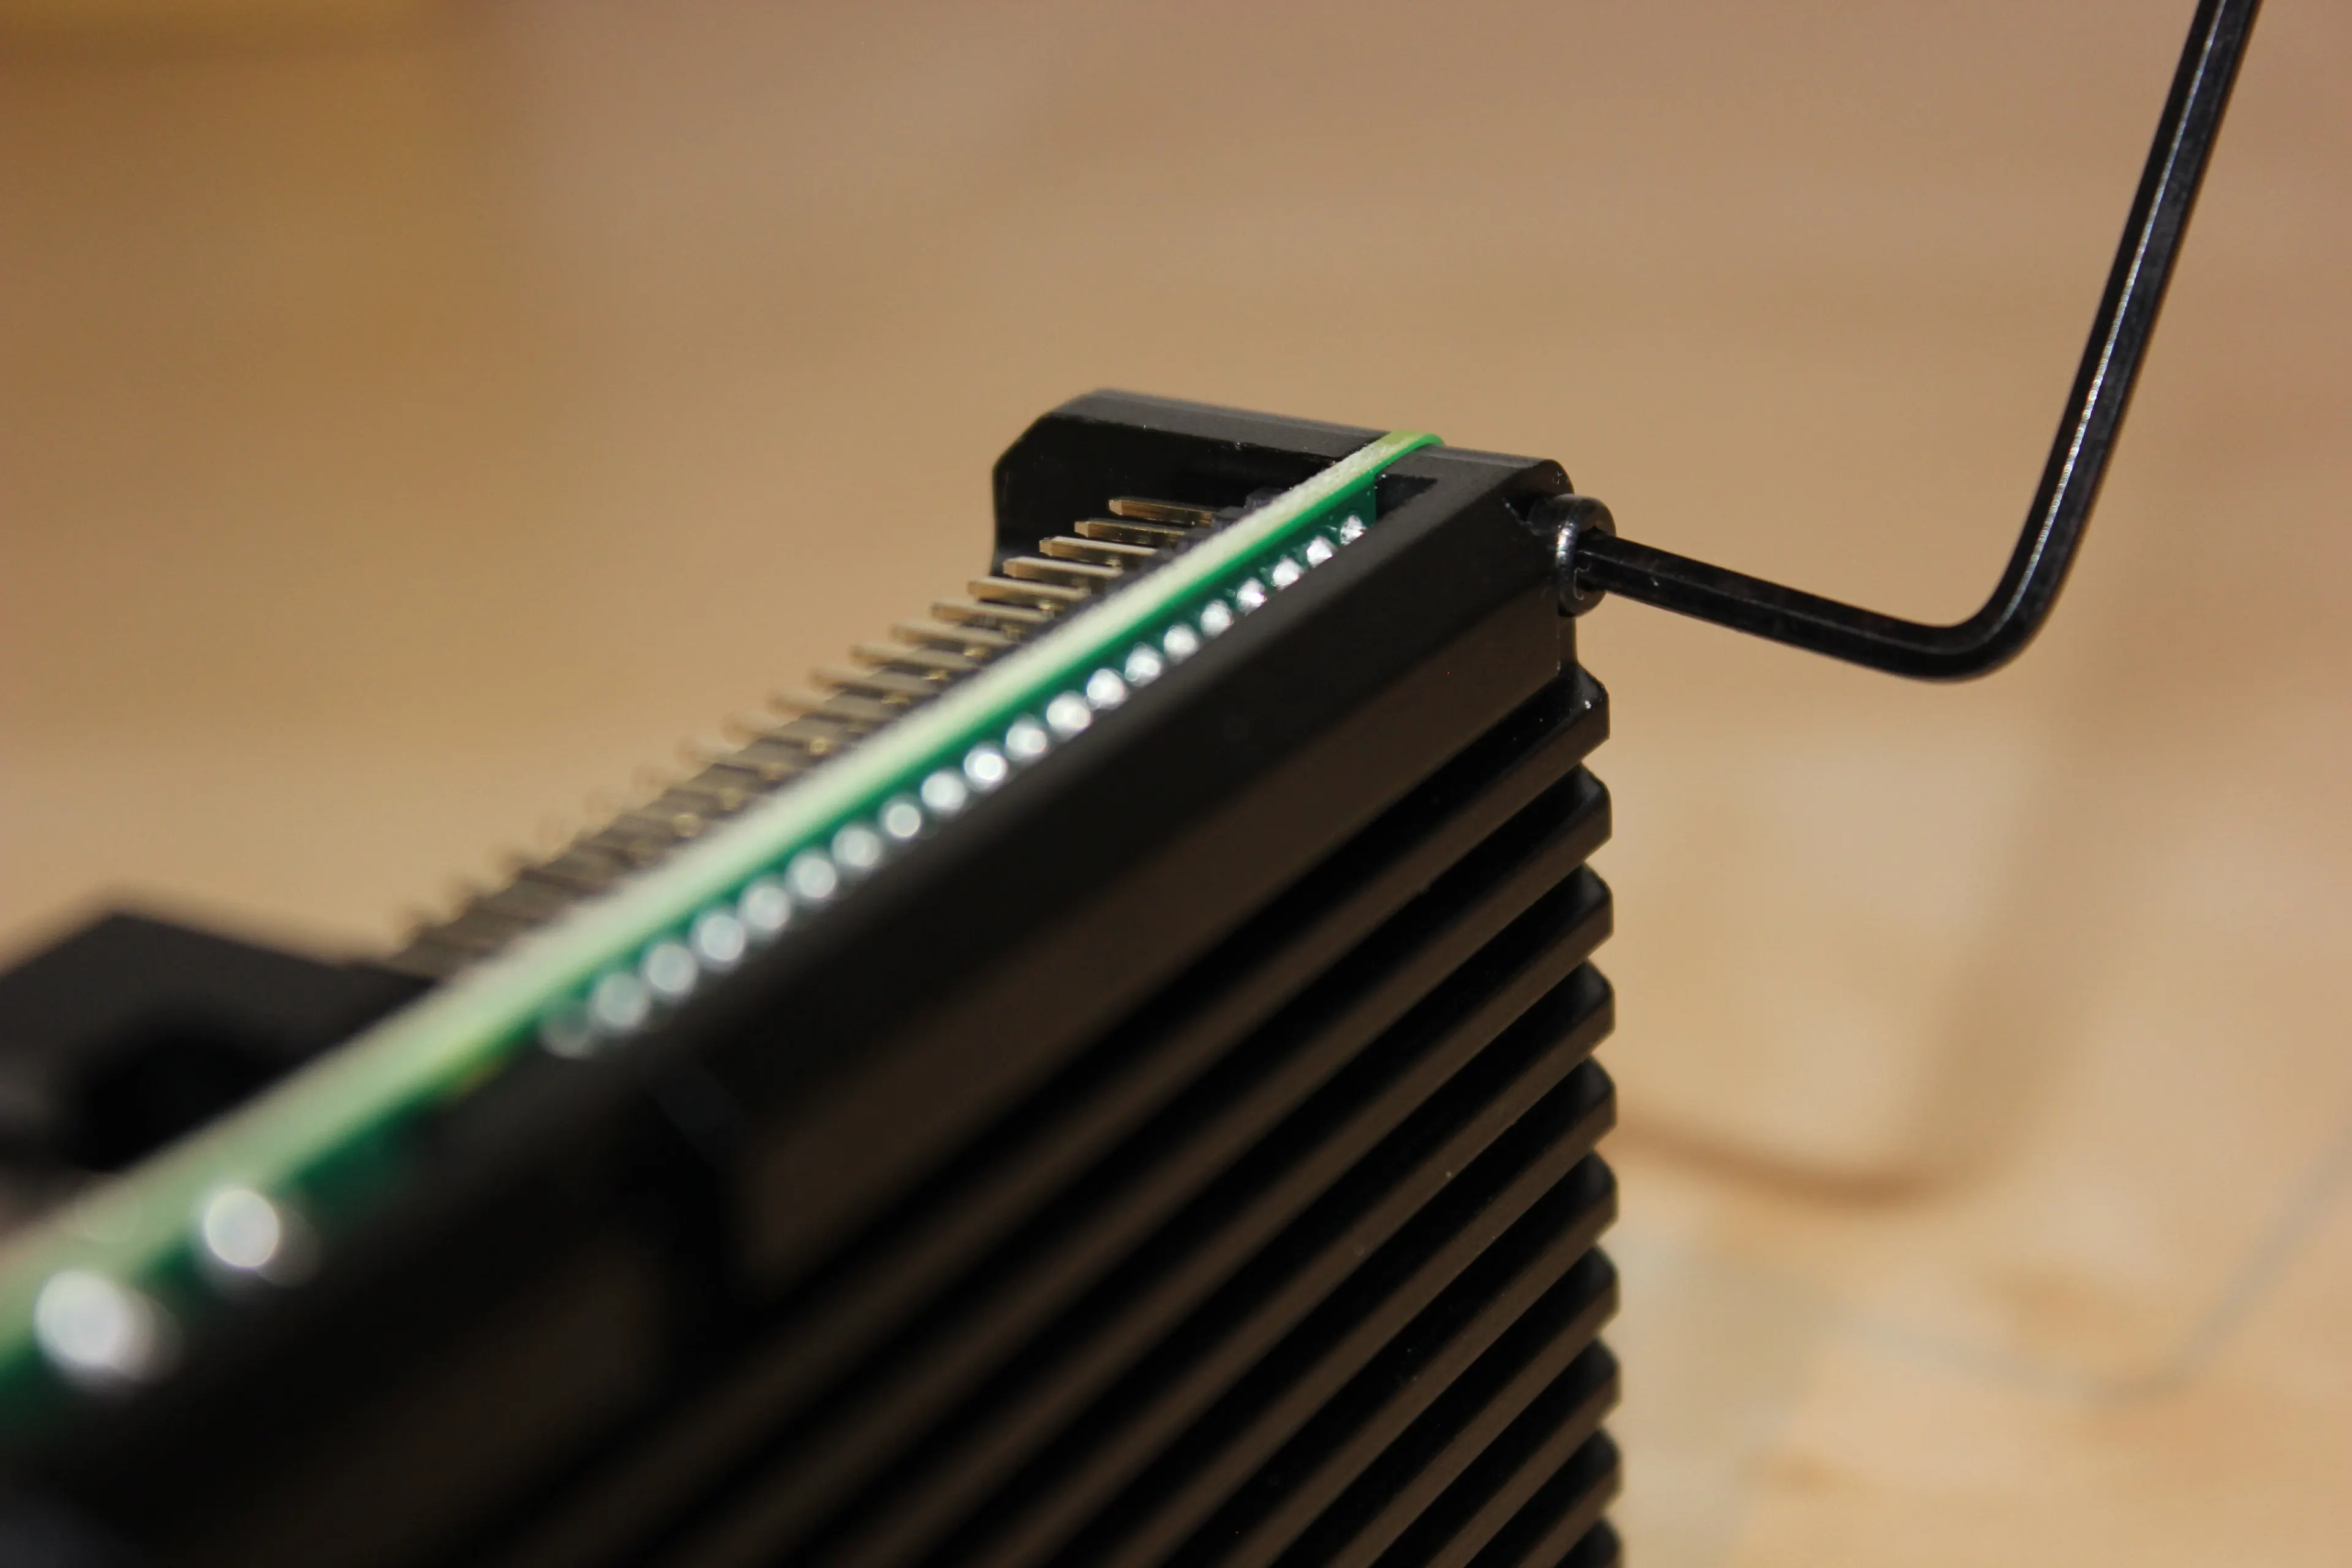
A few days later, the parts arrived and I started building them. However, I had veered off the list slightly. The recommended heatsink case (designed to stop the Raspberry Pi overheating) had few reviews and low ratings, so I picked an alternative, more popular one with a fan. It took me a bit of time to get it working, but I managed it. The only thing was, when I tried attaching the screen, it wouldn’t fit at all. I realized my mistake, and begrudgingly ordered the correct part.
One week later.
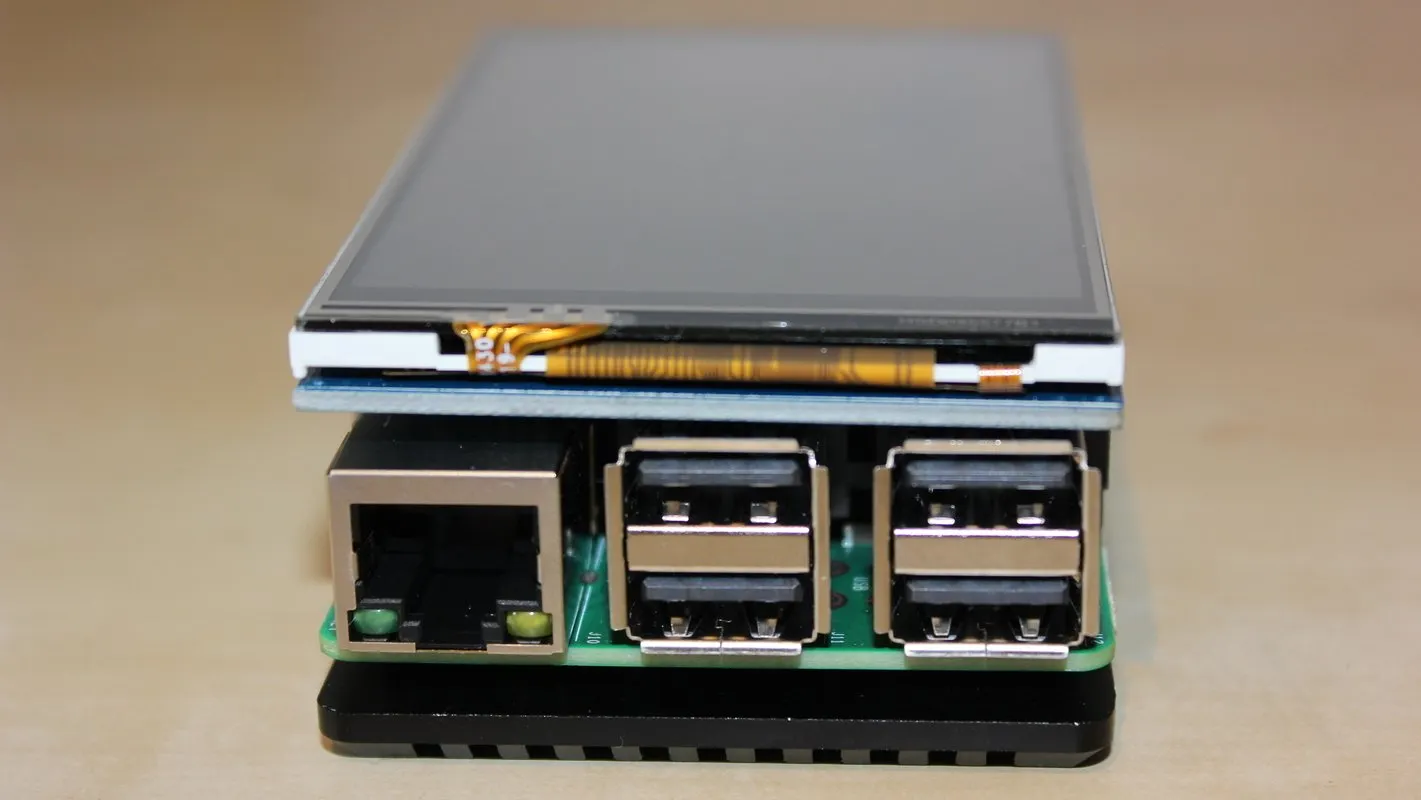
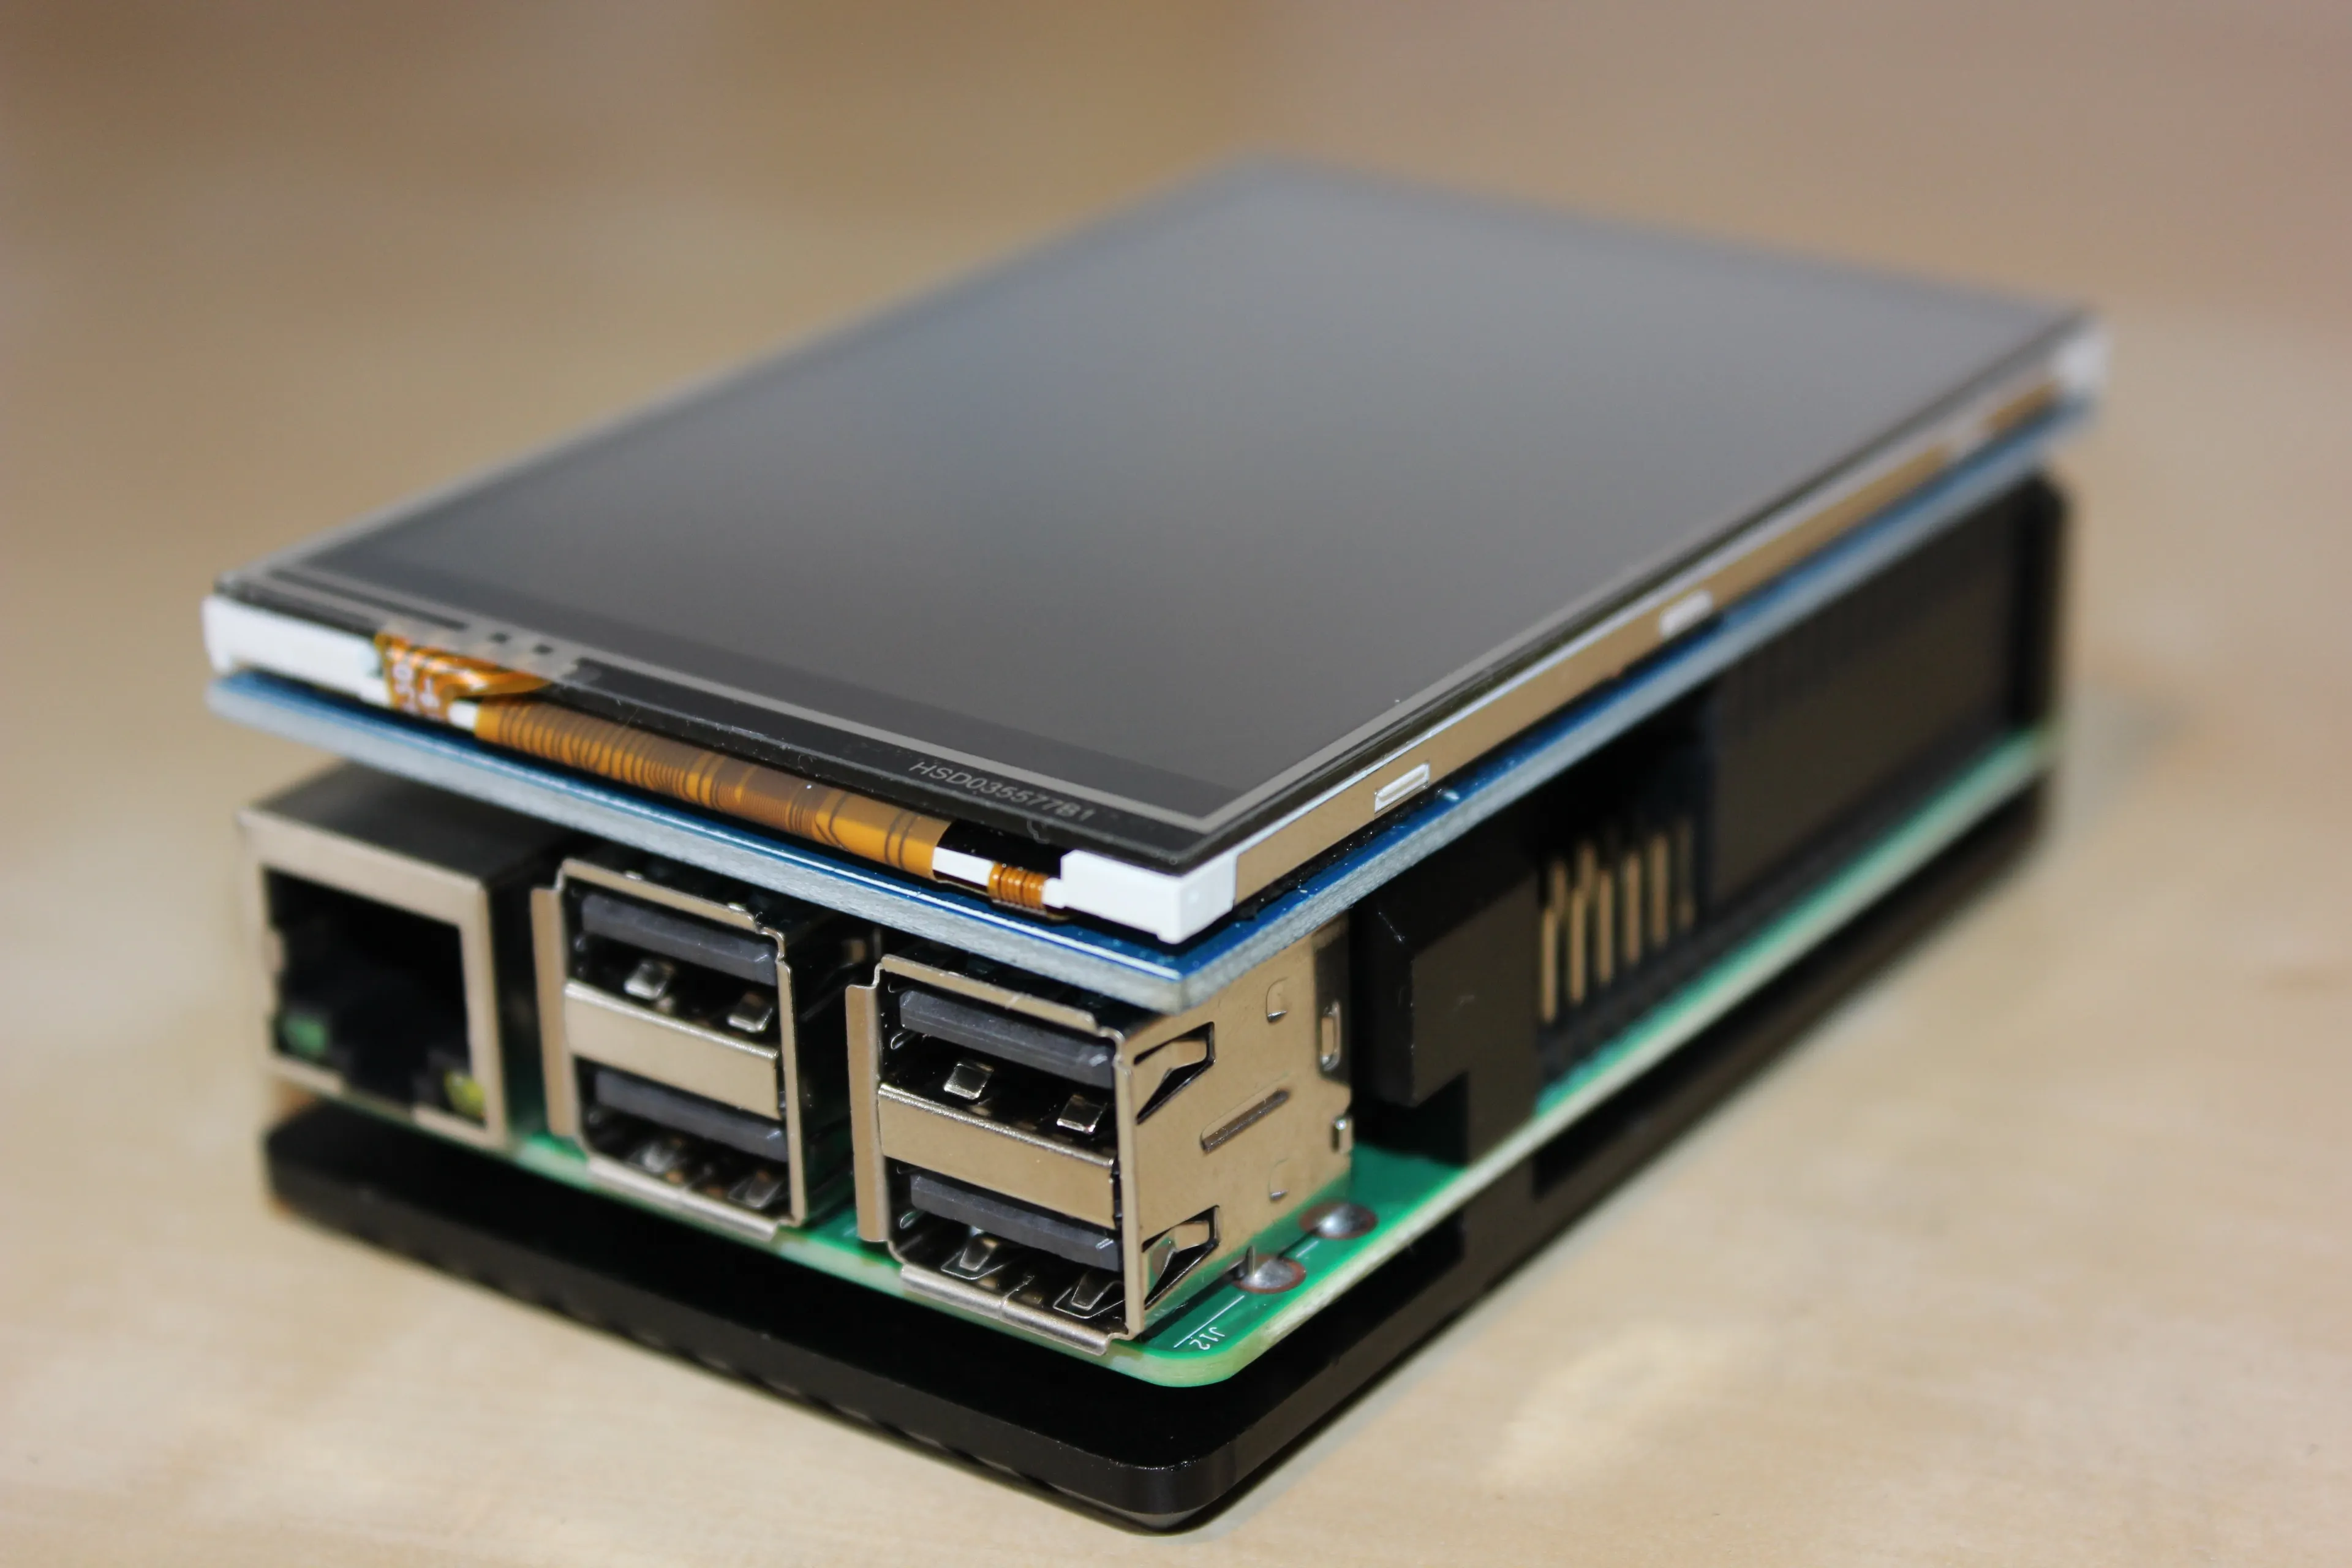
The Pi is easy to piece together, like a Lego kit with under ten parts. After putting two tiny pads on its chips and clamping the heatsink case on both sides, I twisted the four screws into place. Then I positioned the screen over the device, lining it up so the Pi’s pins fell neatly into its holes. After sticking the memory card and the hard drive in, and plugging it in, it fired up. The screen went white.
And then stayed white. Nothing else happened. I went through the instructions; the memory card needed to have software downloaded onto it, or nothing will happen. Okay, fine. I took the memory card out and stuck it into my laptop.
Let’s get some software.
DIY Bitcoin Lightning node: Downloading Bitcoin
I downloaded the RaspiBlitz software. It’s 2.5 GB—which is quite large–so it took about ten minutes to download. If you’re a real techie—or paranoid about your own security—then you might want to “build” the software yourself on the SD card, a more complicated process that ensures the software isn’t tampered with in the process. But to keep things simple, I just downloaded it and popped it onto the SD card (using this software to carry it across). It took a couple of minutes.
I put the SD card back in the Raspberry Pi. But now I needed an internet connection. So, I plugged in an ethernet cable. This was where I ran into my first hurdle: My laptop needed to be plugged in via an ethernet cable too, but I don’t have an ethernet port on my laptop. I ordered an adapter from Amazon. (Although it later turned out that I misread the instructions and could have just used Wi-Fi).
One day later.
I plugged my laptop and the Raspberry Pi into the internet router and opened up terminal. This is the scary-looking text editor that can control your entire computer. Much to my surprise, the process was surprisingly easy. I typed a few things from the Raspberry Pi’s screen into terminal (creating an SSH connection) and my computer connected to the device.
At this point it recommended that the physical power plug was not good enough. Luckily I had bought a second from Amazon (and wondered why) which I then replaced it with. I powered it back up.
Then, I had to choose four passwords, two for the Bitcoin node and two for the Lightning element. I made them up, wrote them down and entered the first two in. Then, after formatting (wiping) the hard drive connected to the Raspberry Pi, I elected to torrent the Bitcoin blockchain.
But it didn’t send me to uTorrent to take a look for myself, the device did everything in the background and the whole thing just started rolling. At this point I’m trusting the software to have found a good source. Hopefully the open-source RaspiBlitz code has been audited to make sure it knows what it’s doing.
The Bitcoin blockchain started downloading. It was 233 GB in size and the device said it would take about six hours to download (not bad for ten years of transactions). Afterwards, I would need to set up Lightning. But for now, I waited.
DIY Bitcoin Lightning node: Running Bitcoin
After the blockchain downloaded, the software did some wizardry, moving a few files around. Then it said it was all ready and up popped a message asking to set up the Lightning node.
I entered in my Lightning password (the third one I created earlier). Up came a list of words, known as a “seed phrase,” which are for my Lightning address. The seed phrase is used to regain access to the Lightning wallet, where my funds were to be kept. After this, the raspiBlitz did a few more calculations, then asked for a reboot.
The device powered back up. I connected back to it over WiFi and popped my Lightning password back in. I was hoping that at this point it might be ready.

But the device wasn’t done with me yet. While it had downloaded the majority of the Bitcoin blockchain, the torrent wasn’t fully up to date. As such, it had to download a bunch of recent transactions. It also needed to sync fully with the Lightning network. This took several hours and then, finally, it was complete.
At this point, the menu resembled a bitcoin wallet—if it had been built in the 1990s. I was able to create a payment request, or pay a request, which, in other terms, meant sending or receiving bitcoin over the Lightning network.
And that was about it, really. The user interface was very basic and not at all user-friendly, but that’s what you would expect with a handmade device like this. It was slow to make transactions but that’s the compromise that comes with building something designed to be used in an cypherpunk utopia.
DIY Bitcoin Lightning node: Verdict
After building the RaspiBlitz, I reflected on the whole process. Bitcoin nodes are essential to the Bitcoin network that I’d been writing about almost daily for nearly two years, and yet, I’d never run one—or really thought about doing so. What were the barriers that stopped me? And how could they be overcome?
Well, the main one was simply deciding to actually go out and set one up. Bitcoin works a little like torrenting; as long as enough people run the network, it works, and you don’t earn money from contributing your resources to it. So, I never really felt any incentive to do so.

Bitcoin proponents, typically those at the libertarian end of the political spectrum, argue there is a clear incentive. They profess that if you don’t have your own node, you have to trust someone else to connect with the blockchain for you—and that doesn't match up with having trustless digital money.
But perhaps I don’t need to. Bitcoin’s incentive mechanism of block rewards ensures that enough people are mining new coins, helping to keep the network running and keeping it safe from attacks. Maybe that’s enough, and I can leech off the network. But if the system goes the way of the internet, centralization creeps in and soon governments are able to control it—not just in China but in the West too—then maybe I should be doing so too, or we’re all doomed. And perhaps you should too.
And what’s stopping you? It’s easy enough to buy a prepackaged node, or, if you want to save some money and feel more secure that it hasn’t been tampered with, you can build your own, like I did. For $150, it’s not the worst investment you’ll make. And if you own more than that in bitcoin, perhaps it’s wise to check that everyone else on the network is playing fair, and not stealing your money.
It’s an ethical and financial dilemma that will likely separate the diehard tech fans from the casual crypto investors. But there’s something liberating about bootstrapping a piece of kit that looks like it might be used in a dystopian cyberpunk novel. And by judging the state of things in Hong Kong, China and around the world, that kind of situation might be closer than we think. If you listen to the doomsayers, it might have already happened.